React Frontend for the CAP Application
Following series of posts about eTag and CAP, I decided to review one more topic, but this time dedicate the note to using the React library as a frontend for a CAP application.
Requirement
Deploy a React component for the visualization of data fetched from a CAP service hosted on a BTP Trial instance.
CAP Service
I will continue working with the service that was created for demonstration in the series of notes about eTag.
Prepare the Folder for React Components
Once you've created a new CAP project, you should see the following project structure:
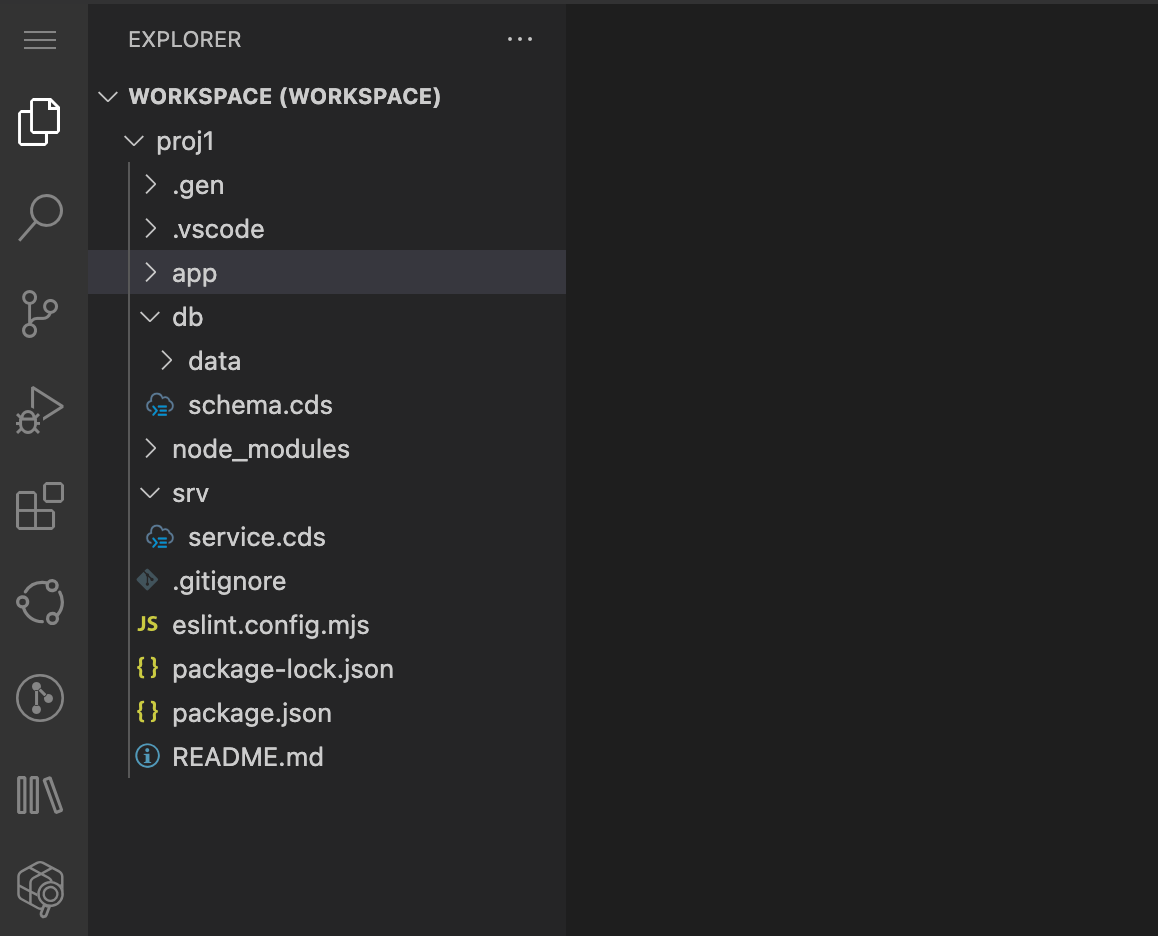
The app folder is intended to store all UI-related components relevant to your application. Inside this folder, I'll create a new subfolder where all the React components will reside.
To create a new folder, run the following command in the terminal:
npx create-react-app react-devYou can try running the newly created application by opening the react-dev folder and running:
npm startPerfect — the draft version of our React application is already working. Let's move on.
Create a New Component for Your Application
For demonstration purposes, I will implement a simple component for storing and displaying news data fetched from the CAP service.
Below is the source code for the NewsComponent, which will be included in App.js:
import React, { useEffect, useState } from 'react';

const NewsComponent = () => {
  const [news, setNews] = useState([]);
  const [error, setError] = useState('');

  useEffect(() => {
    fetch('/odata/v4/news/News')
      .then((res) => {
        if (!res.ok) throw new Error('Failed to fetch News');
        return res.json();
      })
      .then((data) => setNews(data.value))
      .catch((err) => setError(err.message));
  }, []);

  /* format the date to YYYY-MM-DD */
  const formatDate = (fetchedDate) => {
    if (!fetchedDate) return '';
    const date = new Date(fetchedDate);
    const year = date.getUTCFullYear();
    const month = String(date.getUTCMonth() + 1).padStart(2, '0');
    const day = String(date.getUTCDate()).padStart(2, '0');
    return `${year}-${month}-${day}`;
  };

  return (
    <div style={{ padding: '1rem' }}>
      <h2>News Feed</h2>
      {error ? (
        <p style={{ color: 'red' }}>Error: {error}</p>
      ) : news.length === 0 ? (
        <p>Getting the news...</p>
      ) : (
        <table border="1" cellPadding="8" cellSpacing="0">
          <thead>
            <tr>
              <th>News Title</th>
              <th>News Body</th>
              <th>Edited At</th>
            </tr>
          </thead>
          <tbody>
            {news.map((item) => (
              <tr key={item.ID}>
                <td>{item.news_title}</td>
                <td>{item.news_body}</td>
                <td>{formatDate(item.editedAt)}</td>
              </tr>
            ))}
          </tbody>
        </table>
      )}
    </div>
  );
};

export default NewsComponent;
Import the New Component to App.js
Add the newly created component to App.js:
import logo from './logo.svg';
import './App.css';
import NewsComponent from "./NewsComponent";

function App() {
  return (
    <div className="App">
      <center className='App-header'>
      <NewsComponent />
      </center>
    </div>
  );
}

export default App;
Build the project
Run the following command to build your project.
npm run buildCopy the Built Project to a Separate Folder
Store the built project in a separate folder. First, create a new folder under the app directory.
mkdir react-uiCopy the contents of the build folder into the new folder.
cp -rf build/* ../react-uiRestart the project
Restart your project and open the admin page to access the newly created UI for your app.
I See a Blank Page When Accessing the React UI — Where Am I Wrong?
If you followed all the above steps but see only a blank screen when accessing the React application, it is most likely due to incorrect asset paths in the React build.
This typically happens when hosting the React build inside a subfolder (in this example, react-ui).
How to fix that?
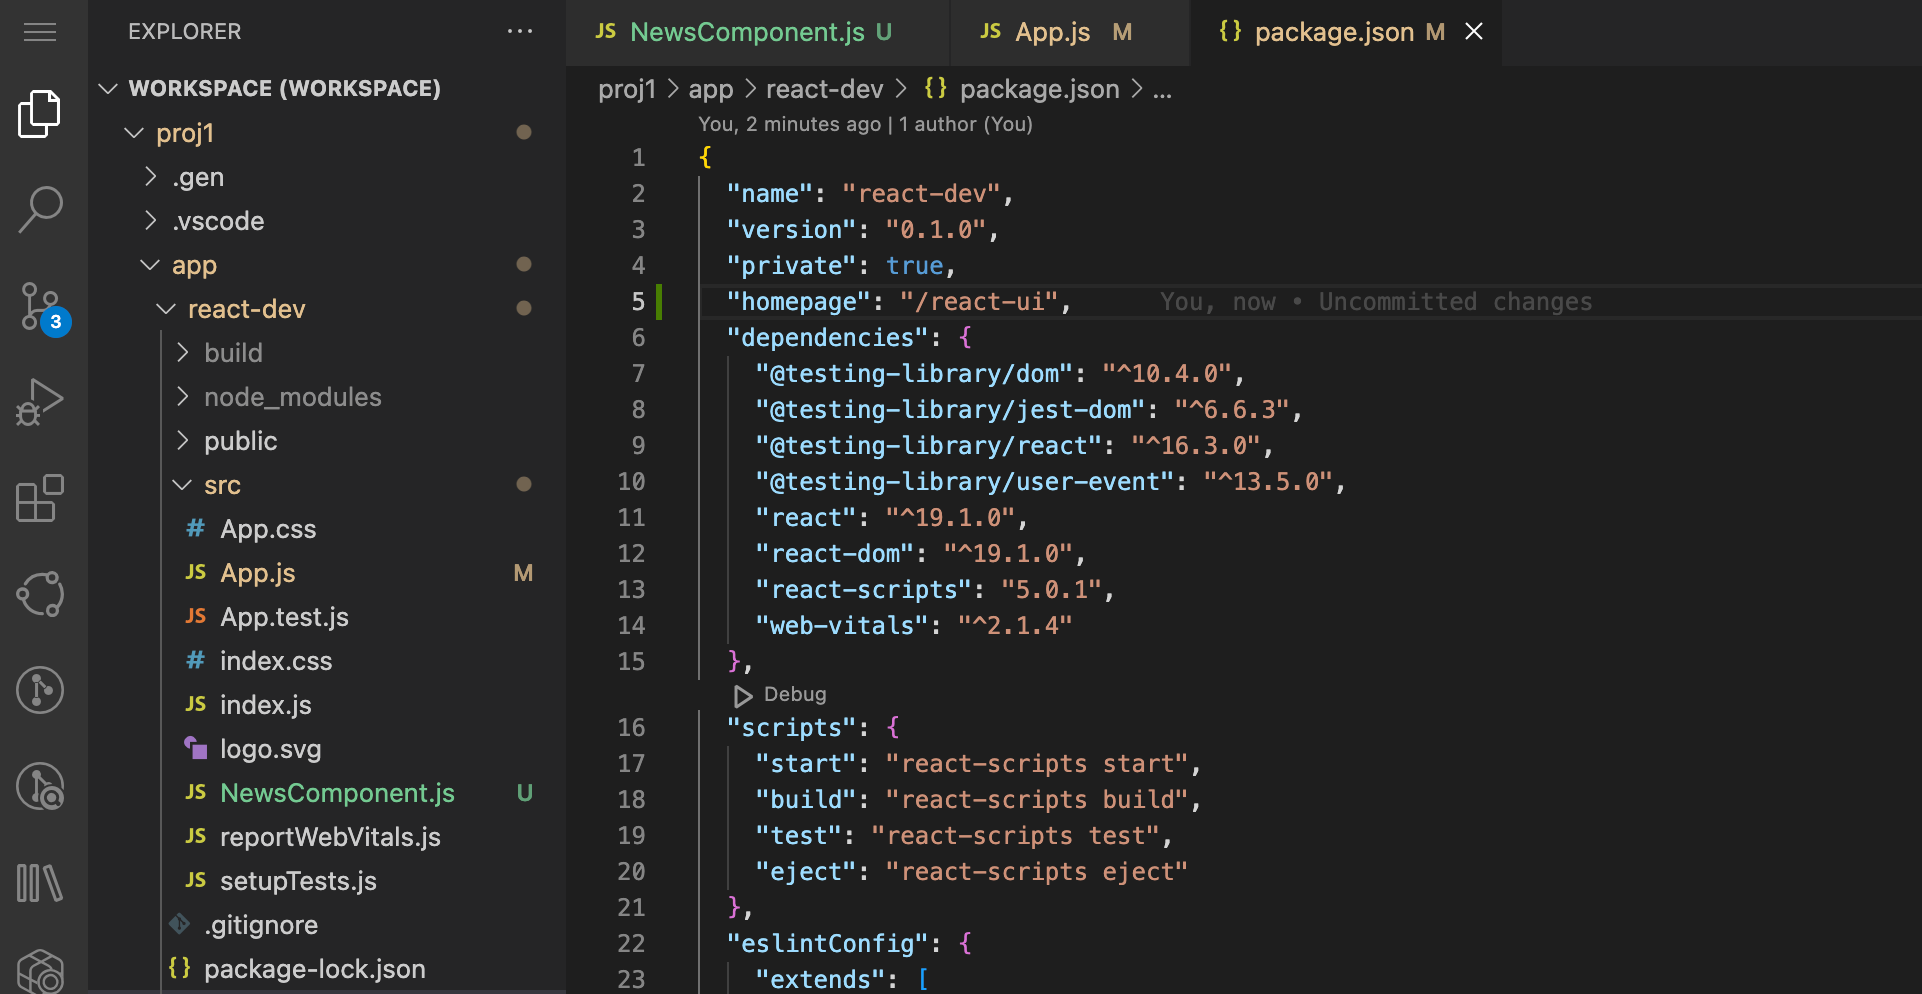
Add the following directive to the package.json file of your React app and rebuild the application. This should resolve the problem.
"homepage": "/react-ui"
Stunning, isn't it?