SAP Processes and Forms Based on FPM Forms
SAP Processes and Forms Based on FPM Forms
I propose a brief overview of configuring a process based on SAP's "Processes and Forms based on FPM Forms" technology. The basis for this post was the official tutorial: Create a Process Based on FPM Forms. I do not intend to replicate the process exactly as described in the tutorial. While studying the official guide, I felt some important configuration details were missing. I’ll try to include them here, along with some personal commentary.
Objective
To create a process that allows employees to add information about their previous employers. To configure this process, I will use infotype 0023 “Other/Previous Employers.” The configuration of process flow logic for "Processes and Forms based on FPM Forms" will not be covered here; I may write a separate post for that.
1. Creating a Form Scenario
Launch transaction HRASR_DT. In the dropdown list, choose Form Scenario, enter the name of the new form, and click the button.

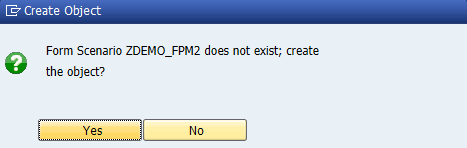
In the window that opens, confirm creation by clicking Yes.
Enter a description, choose W- FPM as the form type, and SAP_PA as the backend service.
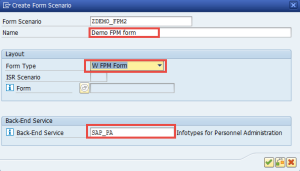
Save your changes.
2. Defining Form Fields
Expand the structure under your new form name and select Fields.
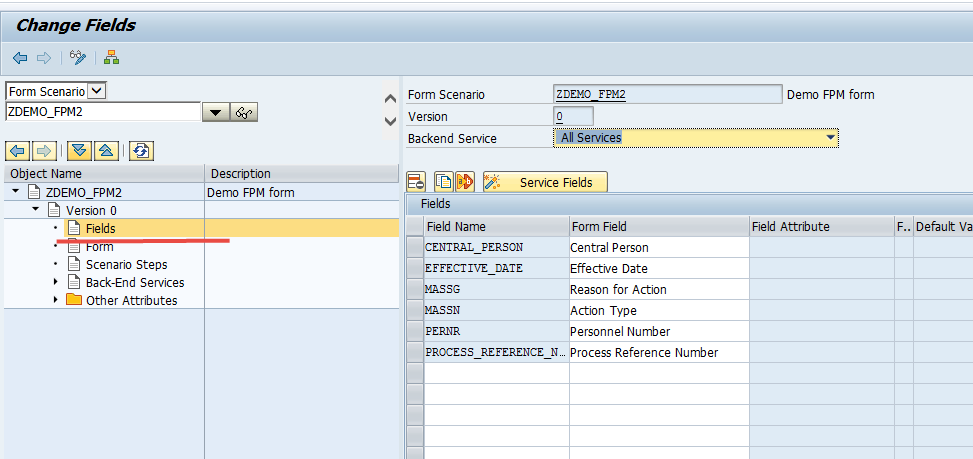
Click the button Service Fields.

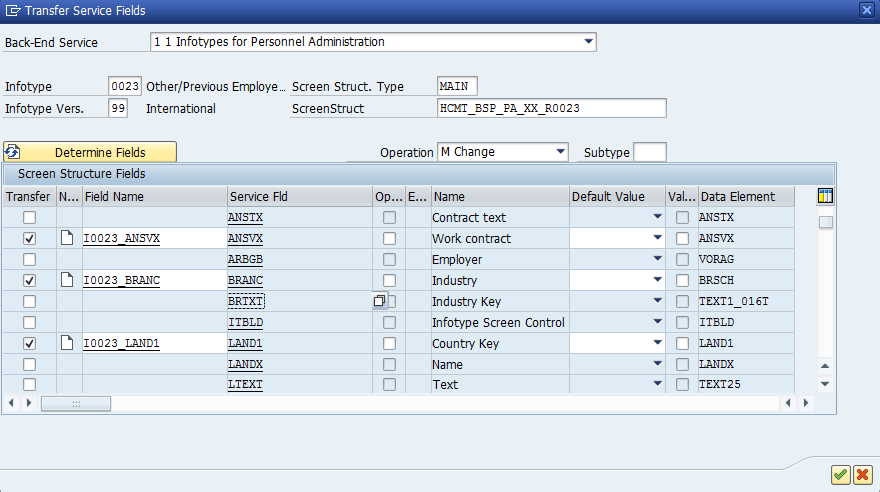
In the window that opens, choose the infotype whose fields will be available for user input/deletion/modification. As stated earlier, I will use infotype 0023. Then:
- Select the infotype number (0023).
- Choose the infotype version (I’ll use version 99 – International).
- Choose the screen structure.
- Don’t forget to select a value for the Operation field.
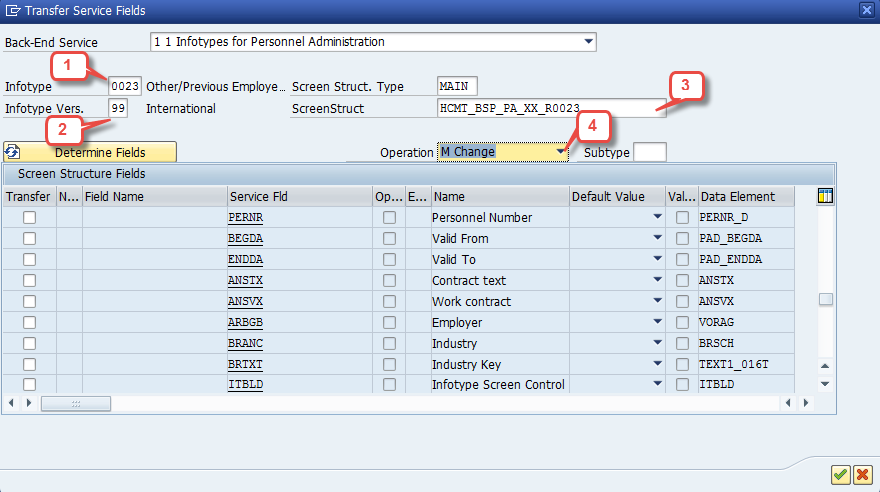
The Operations text box defines how the form data is processed in the backend when auto-save is triggered. You must select an operation to modify the infotype record in the database. The SAP_PA backend service allows creation, modification, and deletion of Personnel Administration infotype records. The ‘change’ operation copies the last infotype record and updates it with the data from the form.Activate the following fields:
ARBGB– EmployerORT01– CityLAND1– Country KeyBRANC– IndustryTAETE– JobANSVX– Work Contract
Confirm the selection.
Additionally, I’ll add some fields from infotype 0001 – Organizational Assignment to identify the employee being updated. Repeat the same process:
- Select infotype 0001
- Choose its screen structure
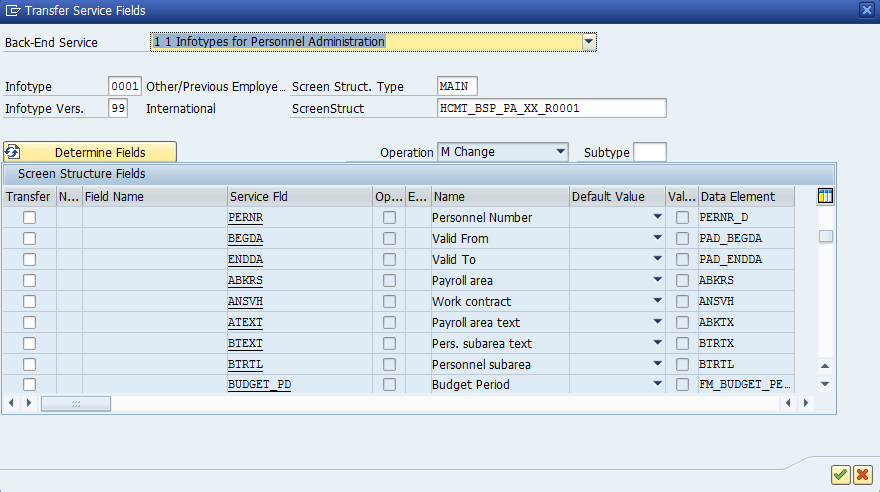
Activate the following fields:
ENAME– Employee namePERNR– Personnel number
For these fields, set the CUR – Value for effective date property in the Default value column.
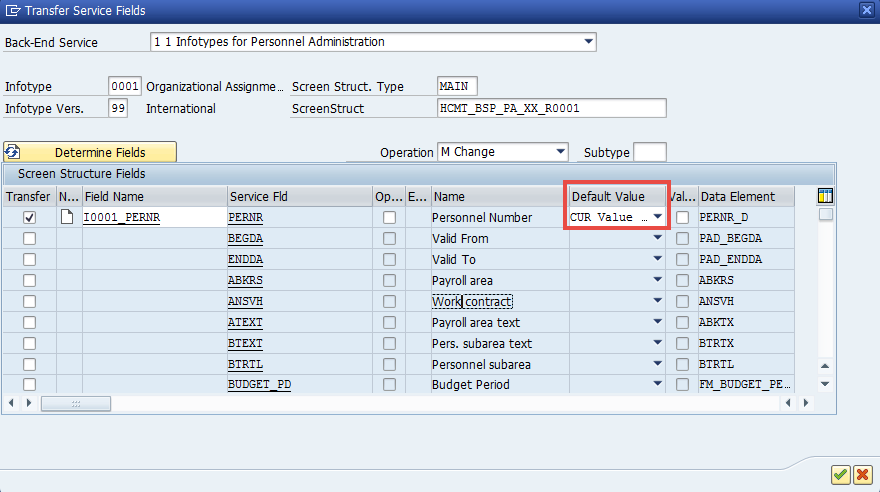
Save your changes.
3. Creating the Form for the Form Scenario
Expand the structure under your newly created form and select Form.
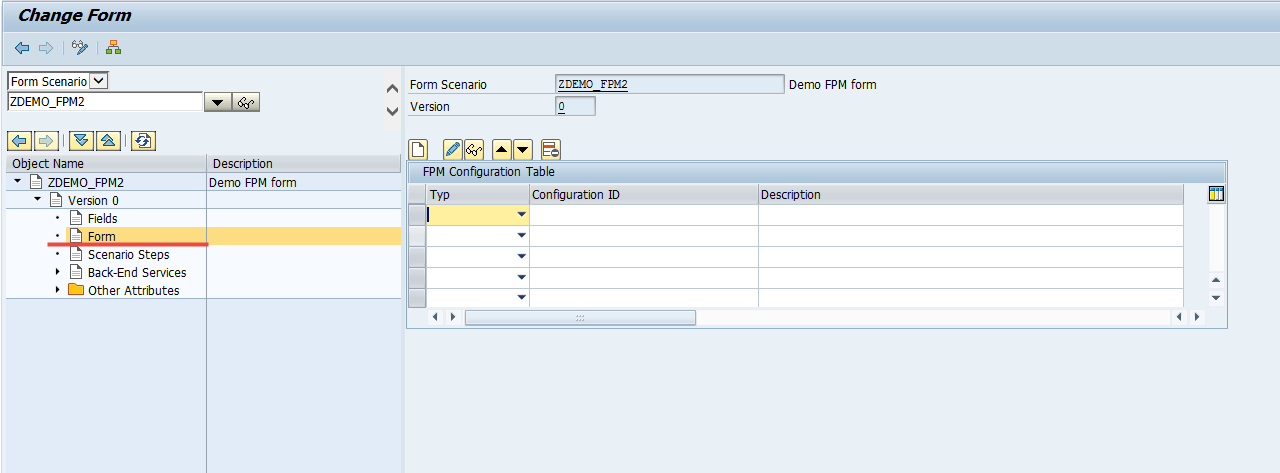
When creating the form, you’ll use FPM (Floorplan Manager) configuration. SAP provides several types:
Create the Form for a Form ScenarioIn the object hierarchy area, double-click Form. A blank FPM configuration table will appear. There are four types of FPM configuration, which are as follows:Form – Display data using a form. For details, see Creating a Form Layout.List – Display or perform operations on repeat fields of a single infotype record. For details, see Creating a List Layout.List Complex – Display or perform operations on multiple records of a single infotype. For details, see Creating a List Complex Layout.Composite – Group multiple UIBBs within a single UIBB. For details, see Creating a Composite Layout.Choose an appropriate FPM configuration type from the FPM configuration table. Enter a configuration ID and description and choose Create.
Configuring a Form Scenario
Choose the suitable FPM configuration type. Enter a configuration ID and description, and click Create. I will use the "Form" type.
Open transaction SE80, and launch the Web Dynpro application CONFIGURE_COMPONENT.
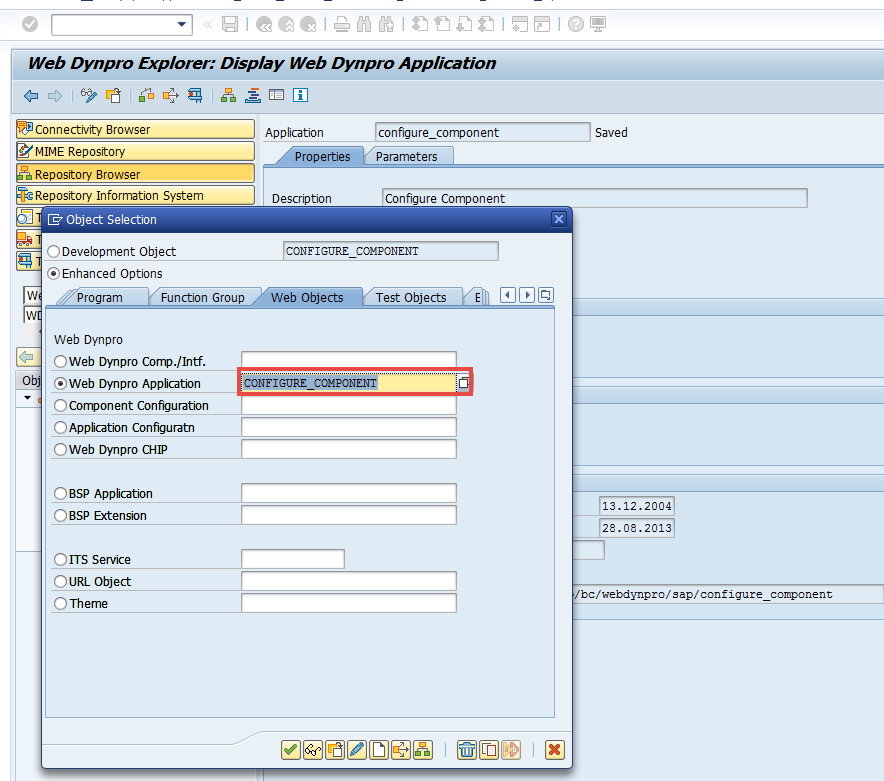
In the browser window:
- Enter
FPM_FORM_UIBB_GL2in Component name - Enter your config ID (I’ll use the same name as the form scenario, e.g.,
ZDEMO_FPM2) - Click the 'New' button

Enter a name for the configuration.
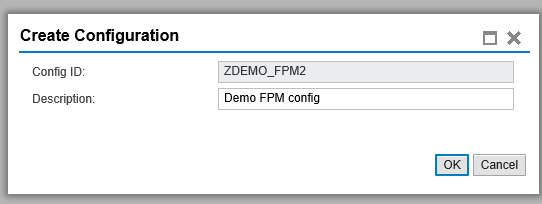
Choose a package to save the object.

Enter the following feeder class: CL_HRASR00_FPM_FEEDER
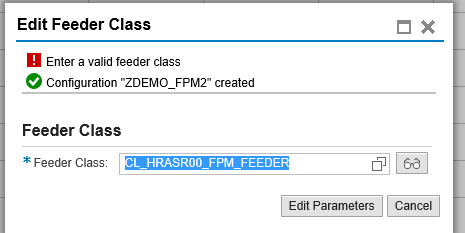
Click Edit Parameters, and in the next window, select your previously created form scenario
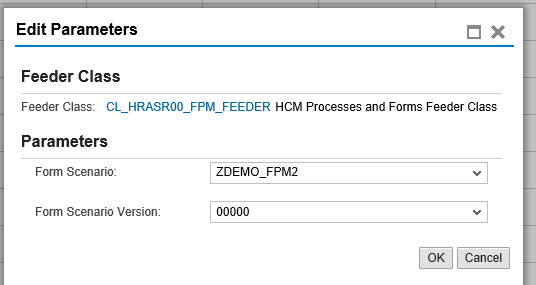
The configuration editor will now open.
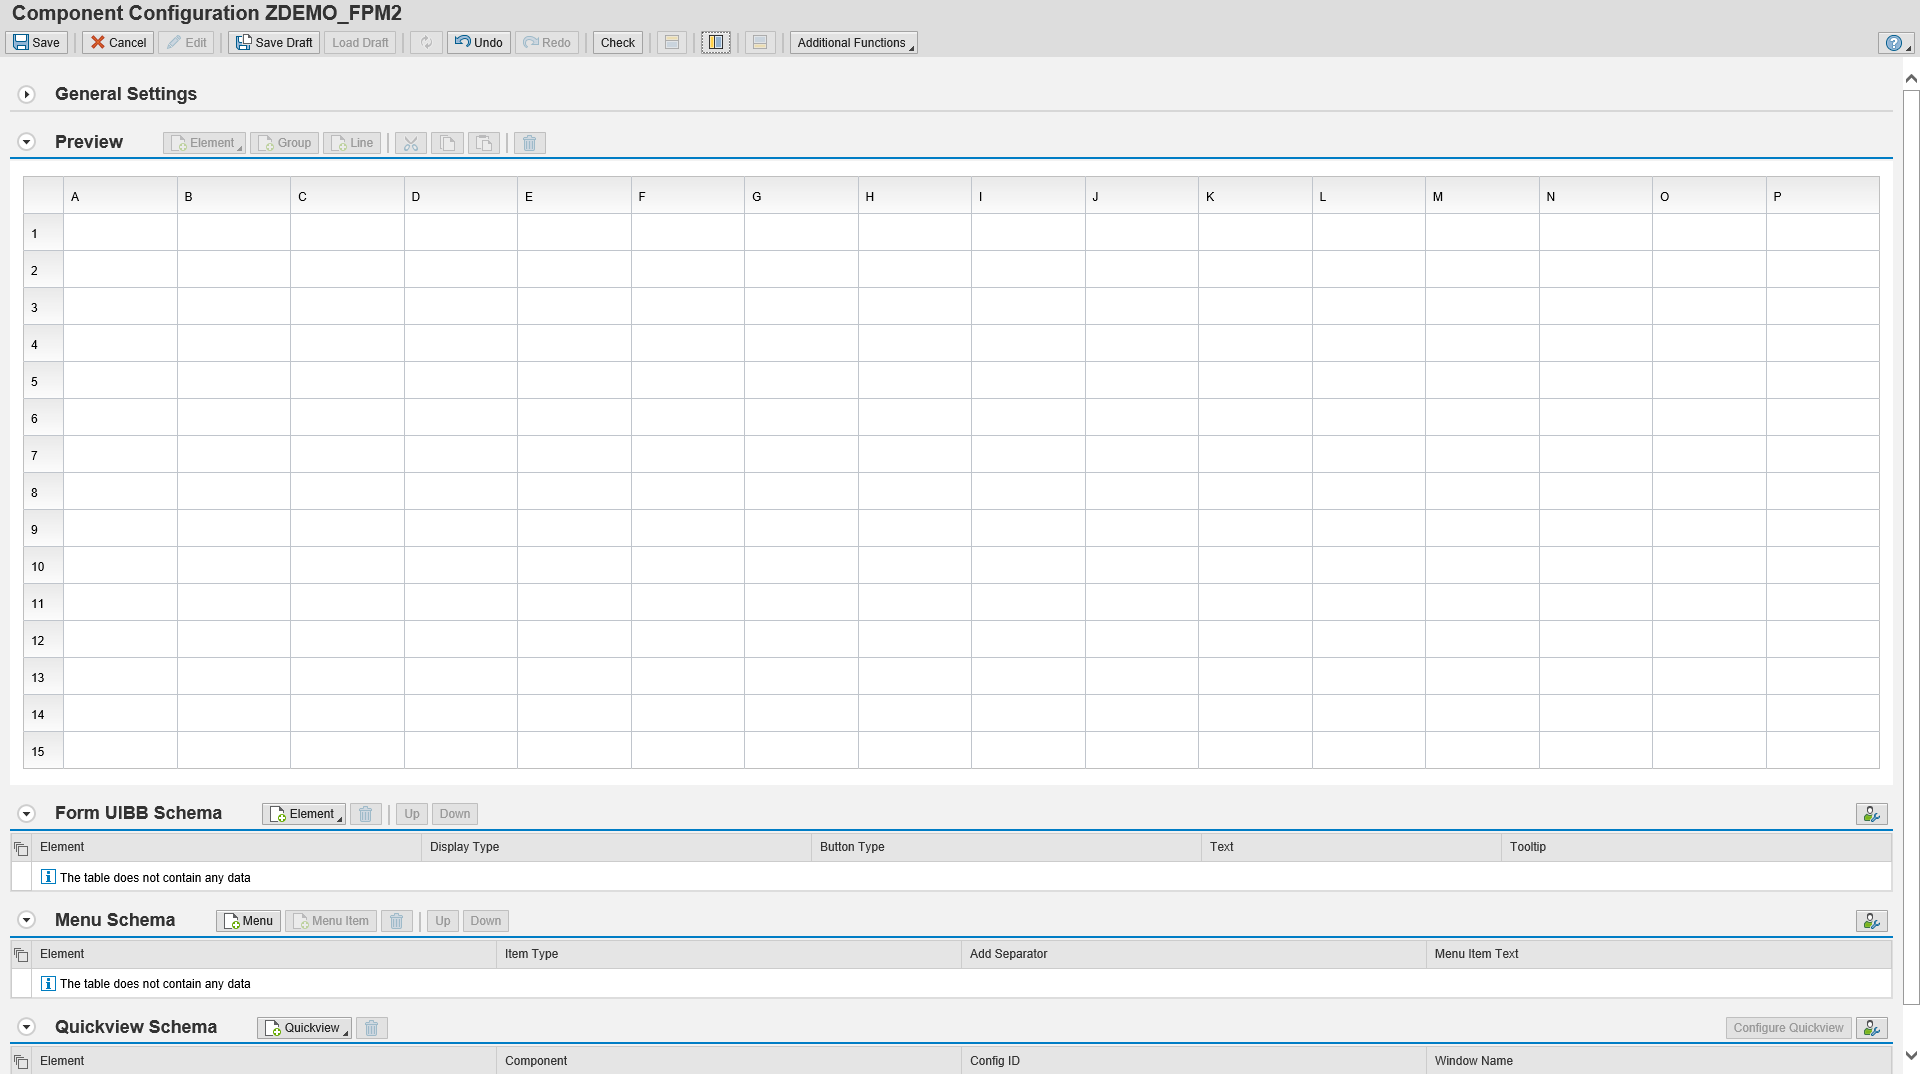
4. Editing the Form Template
According to the SAP guide, we are now at the "Creating a Form and Editing the Layout" step. We need to literally design the form layout for the end user.
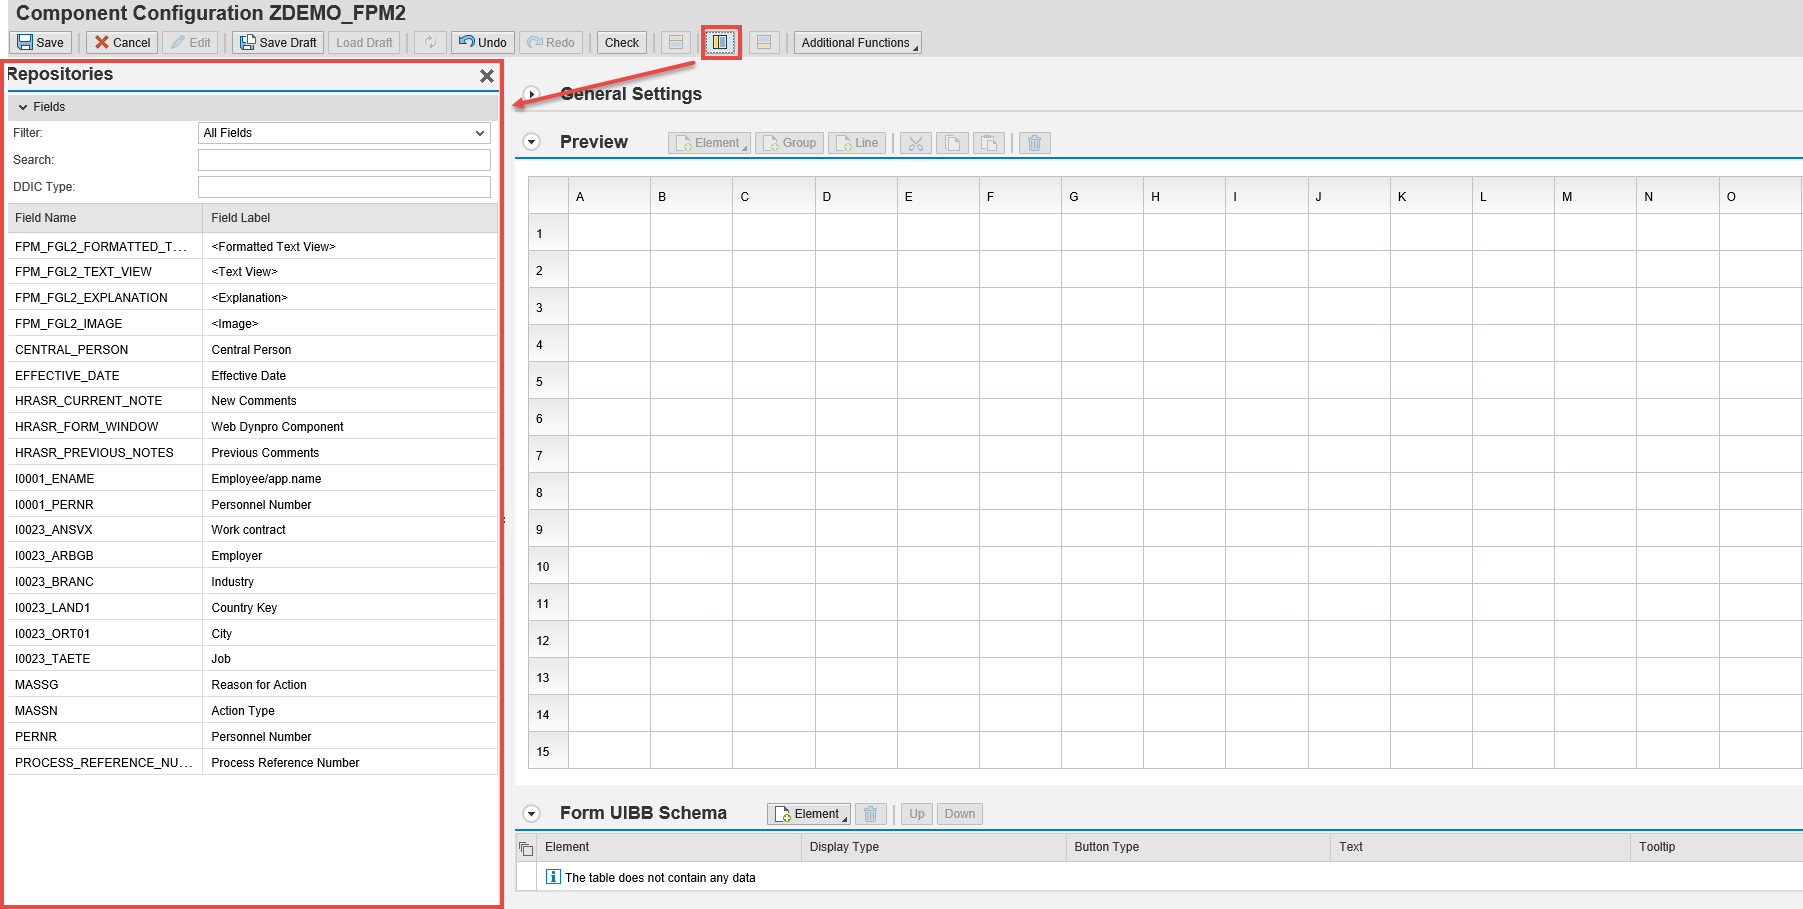
Start by finding the Repositories panel – you can make it visible by clicking the button at the top of the screen.

Now you can add fields.Drag and drop fields in the desired order from Repositories to the Preview area.
To add text descriptions or instructions, use the <Text view> element.
Click the button next to the Repositories panel.

You’ll now see the element attributes section at the bottom of the browser.

To add a custom description to a <Text view> element, fill in the Text attribute.

You can also define search helps for form fields by selecting a value in the Search help field under Display-Type-Dependent Properties.
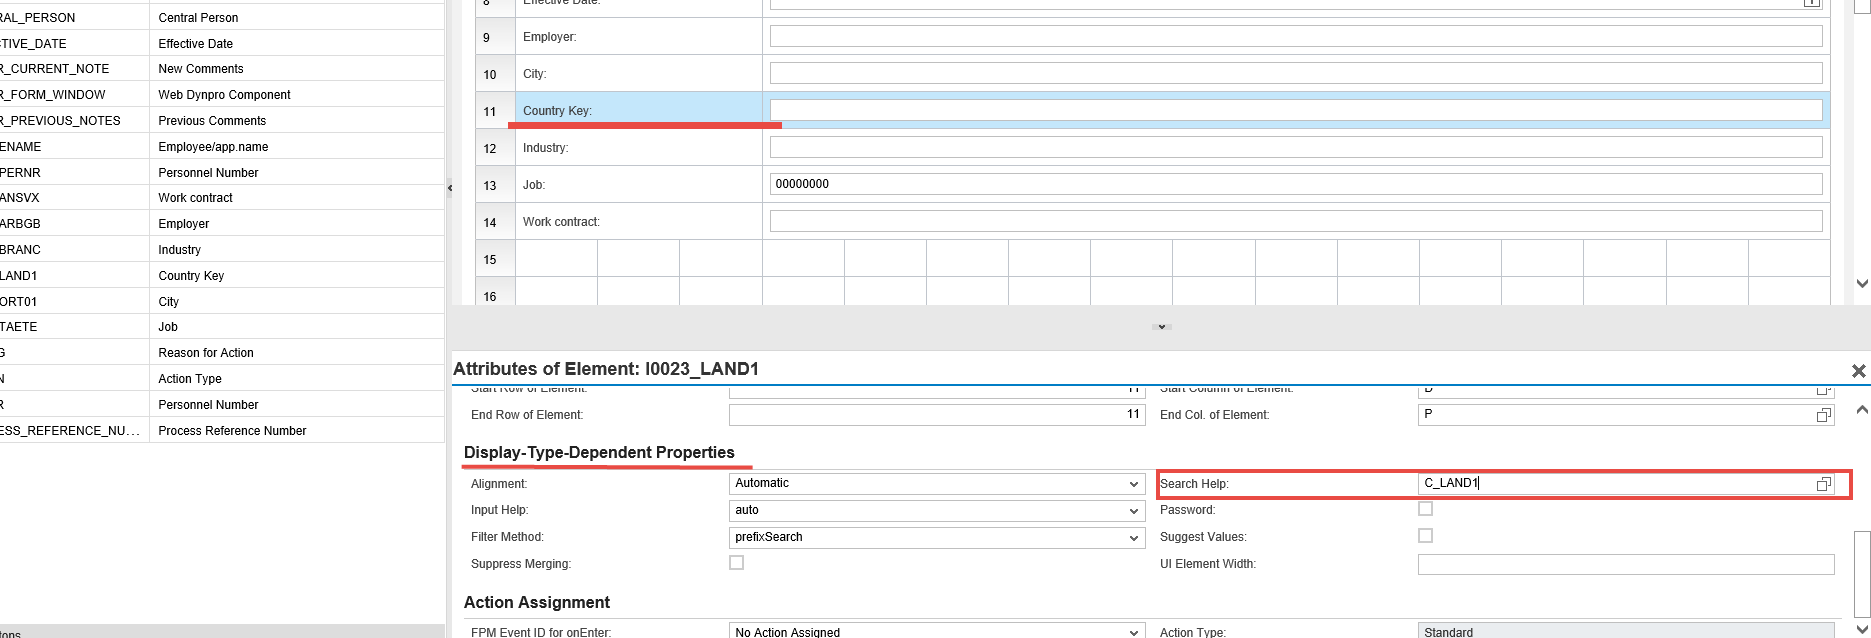
Choose appropriate search helps and save changes.
N.B. You can also addPrevious CommentsandCurrent Commentsfields. These are useful in approval workflows, where each approver’s comments are stored and shown to the next one.

When done with the layout, close the browser. In the HCM PF FPM Configuration Types column, choose F – Form, and in Configuration ID, select your configuration. You’ll see a message like:
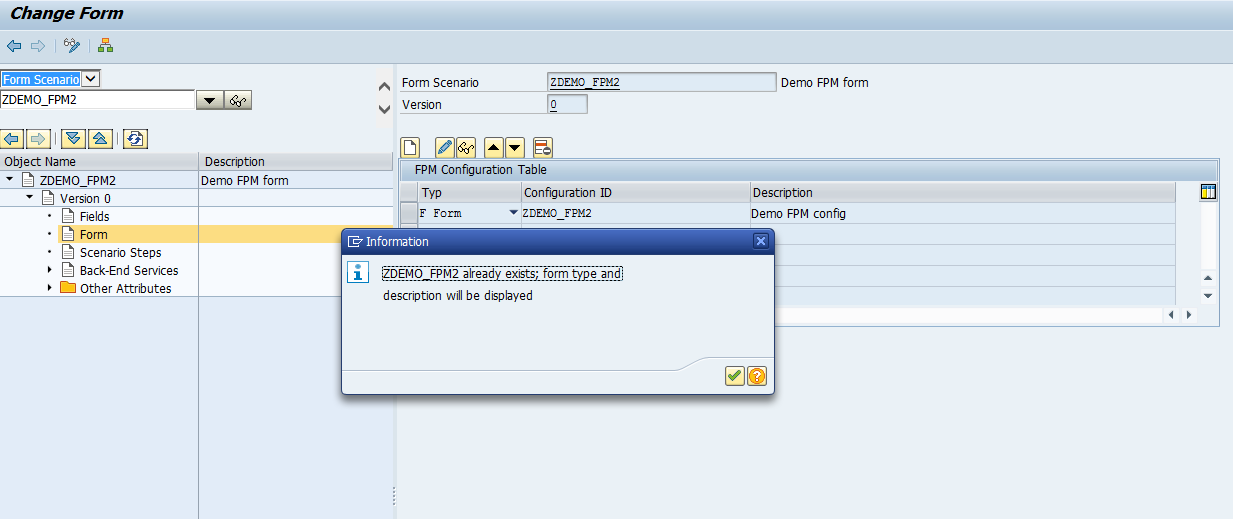
Press Enter and save.
5. Creating the Process
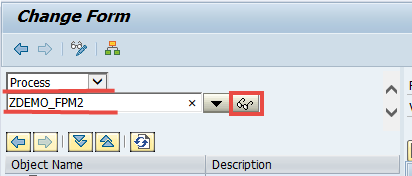
Still in transaction HRASR_DT, select Process from the dropdown, enter a name for the process, and click the button.
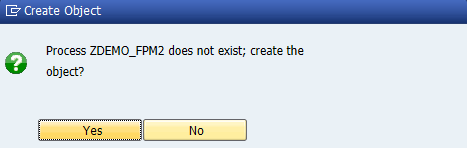
Confirm creation.
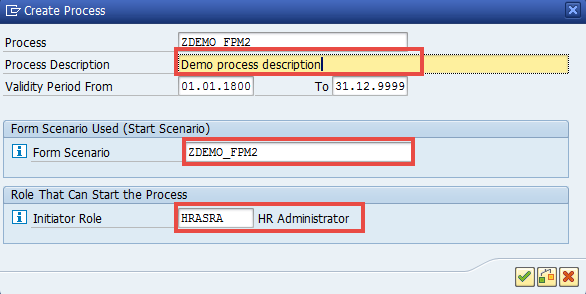
In the new window, enter the process name, select the form scenario IDs, and save.
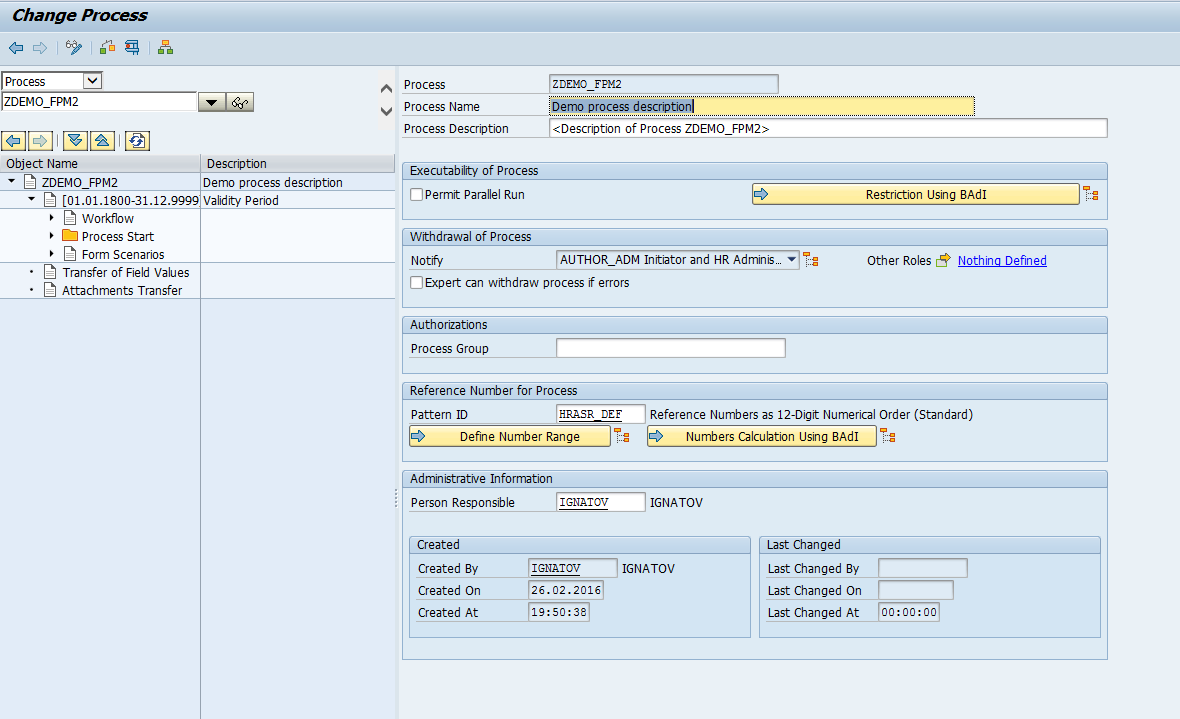
Now you're ready to test.
6. Testing
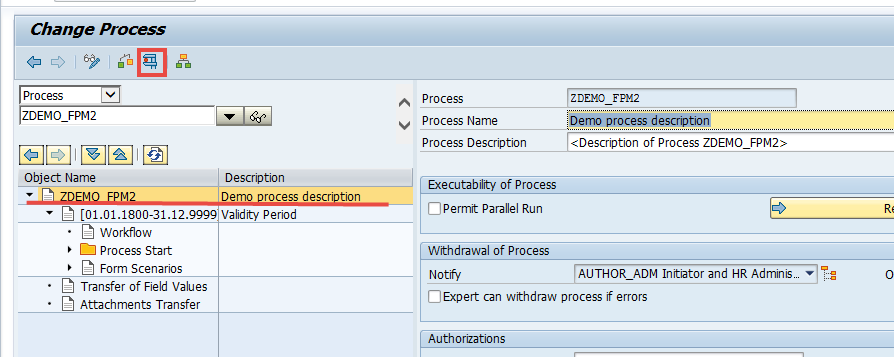
To start testing, click the process name and then click the Test button.
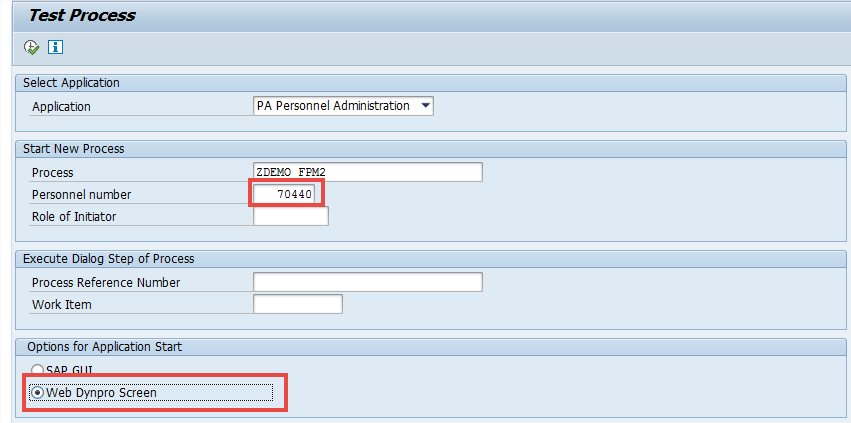
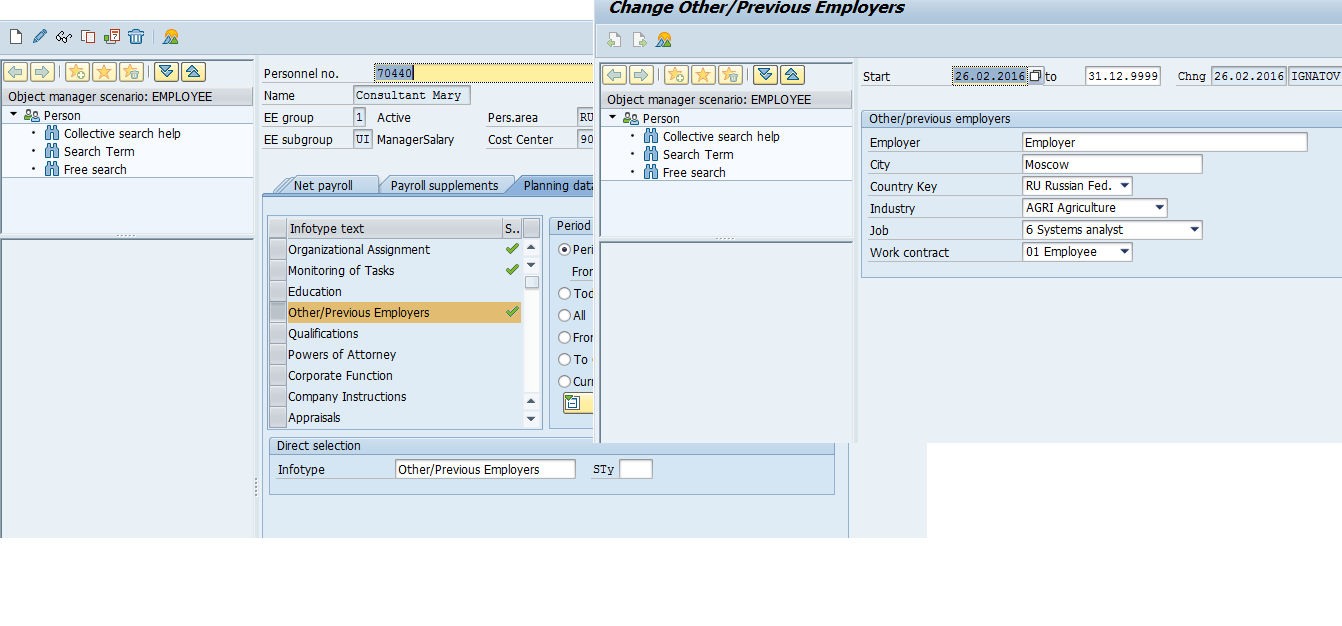
Select a personnel number and activate the Web Dynpro Screen radio button.
The form should look like in the following screenshot.
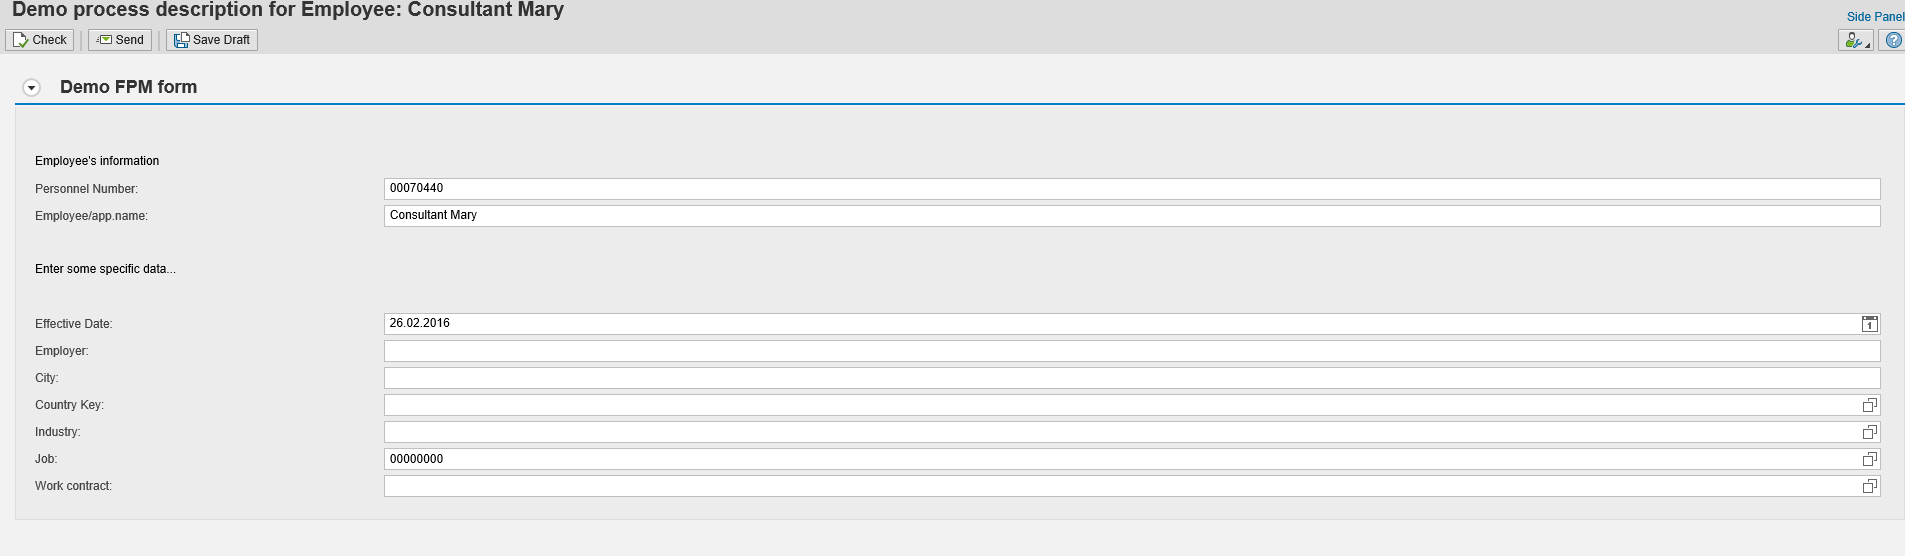
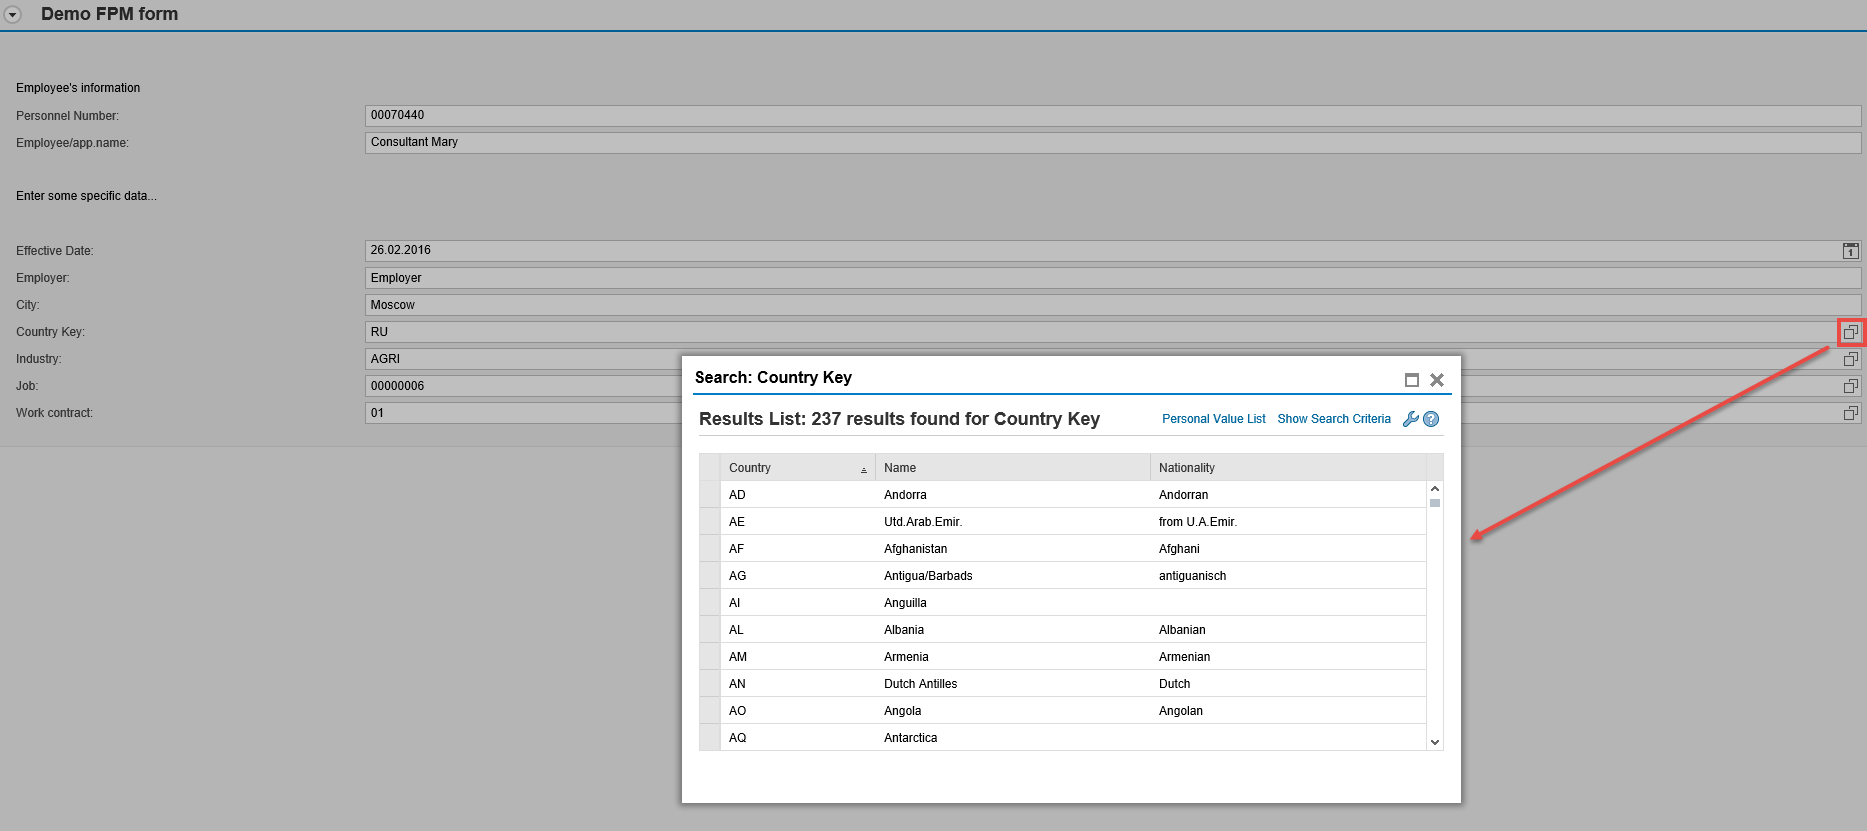
Pay attention to the search helps mentioned earlier.
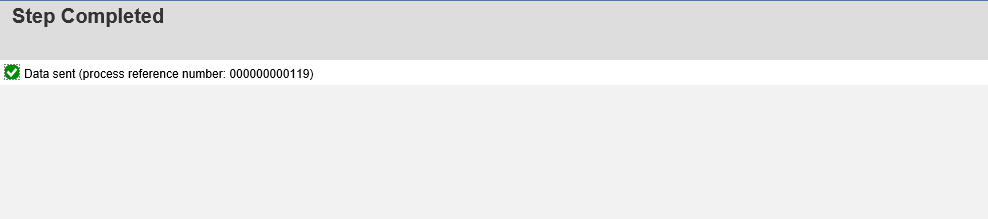
Fill in the form fields, click Check to ensure there are no validation errors, then click Send. You’ll receive a success message.
Since this process doesn’t include approval, the data should be immediately saved in infotype 0023. Let’s verify.
Looks correct!
7. Overview of All Processes
Use the Web Dynpro application ASR_PROC_BROWSER_OVP to view information about processes and their content. I’m sure this tool will be helpful for both functional consultants and developers.
