Workflow Scenarios When Working with ArchiveLink
Workflow Scenarios When Working with ArchiveLink
In this note, I will briefly describe a use case for business workflows when working with documents stored in ArchiveLink.
Workflow Scenarios in ArchiveLink
The vendor offers several workflow scenarios for handling documents stored in ArchiveLink.
See: Storage Scenarios with Integration of SAP Business Workflow
Workflow Tasks
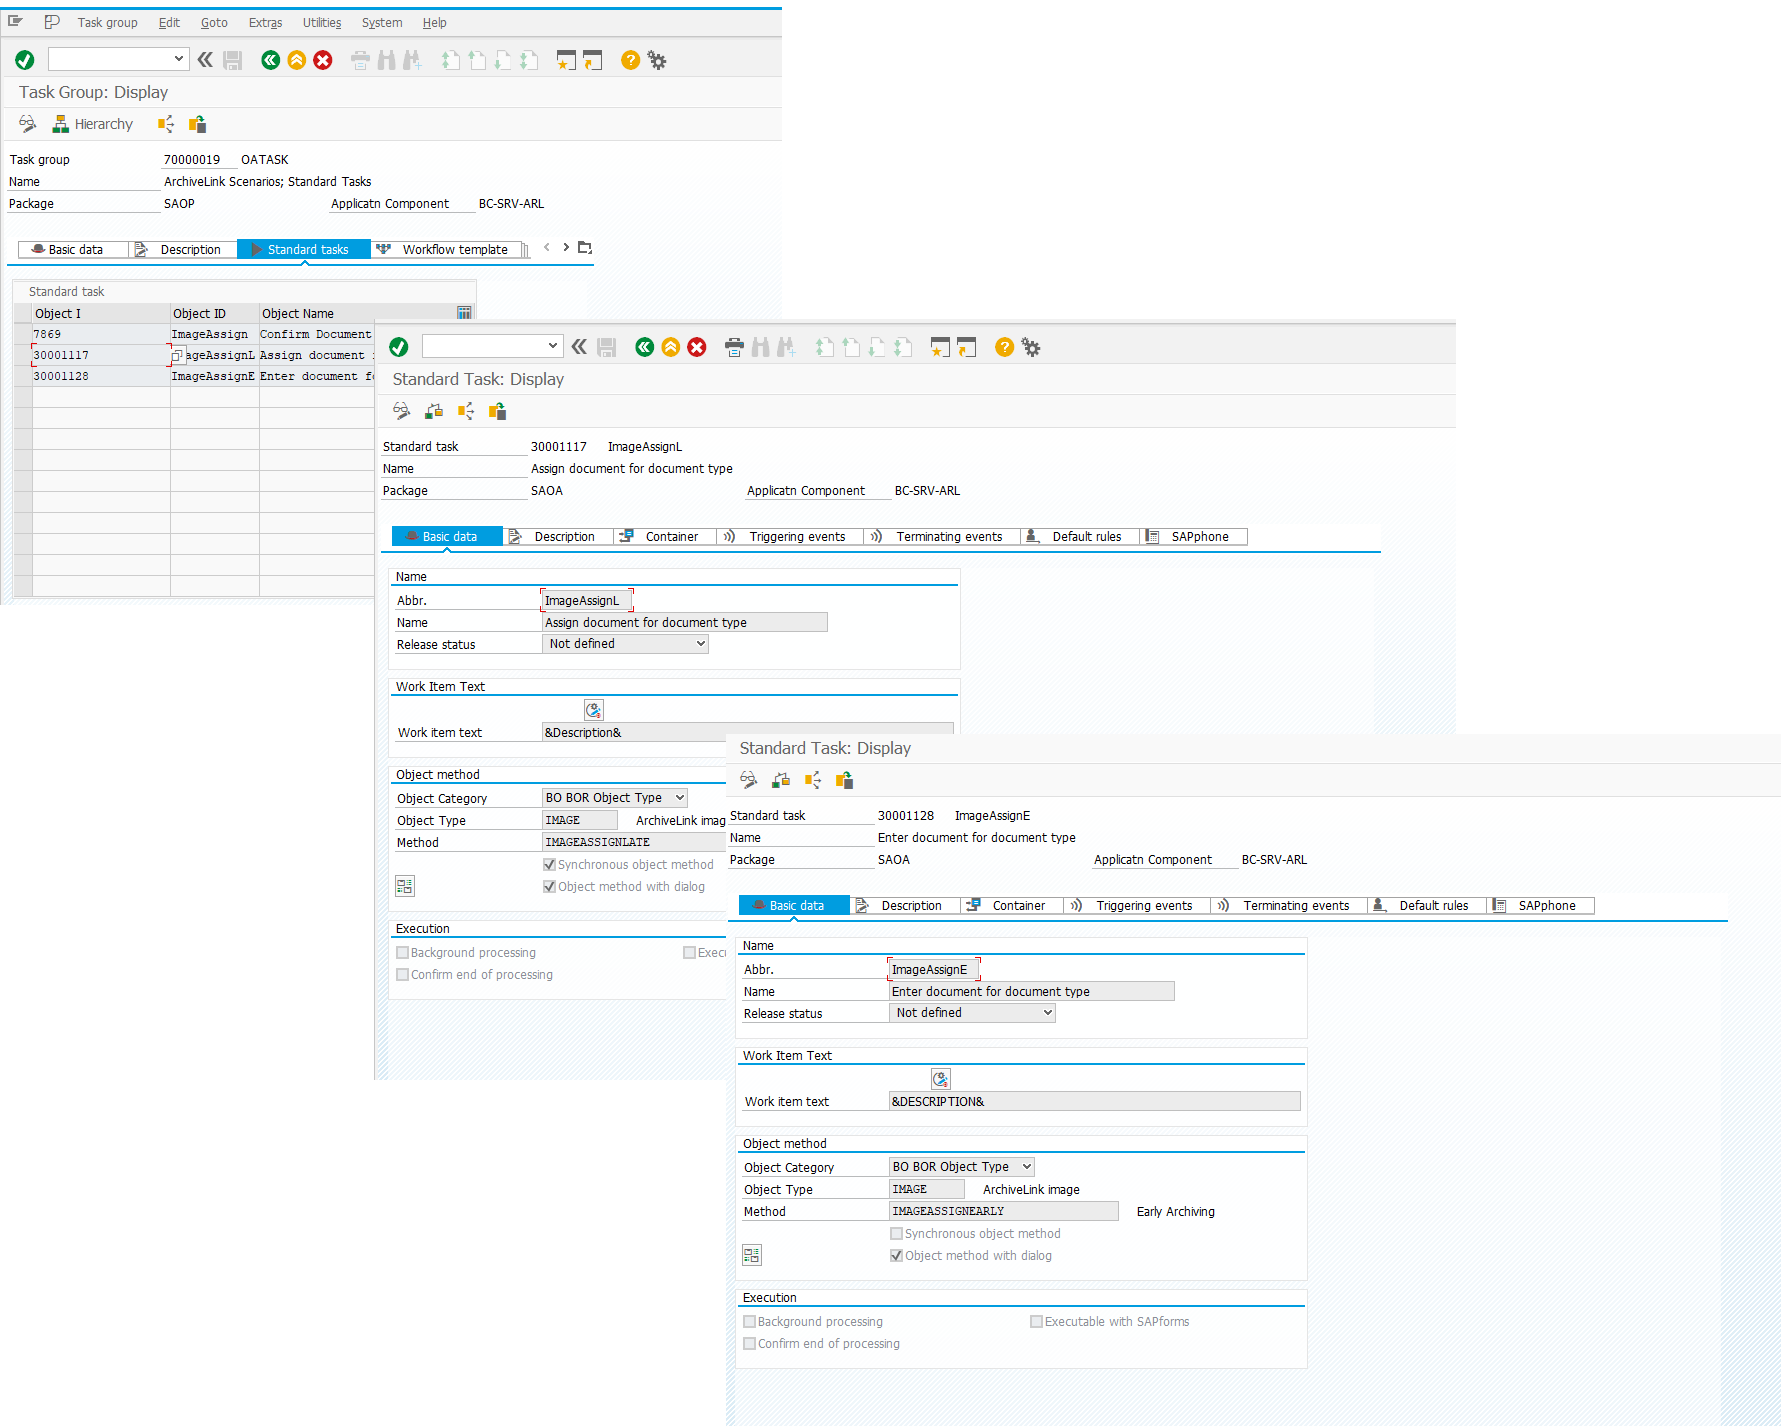
Depending on the scenario you choose to implement, you will need to work with one of the following tasks:
- TS30001128
- TS30001117
See: Storage Scenarios with Integration of SAP Business Workflow
These tasks are grouped in a task group (object TG) with the identifier 70000019.
See: Definition of a Task Group
Configuration
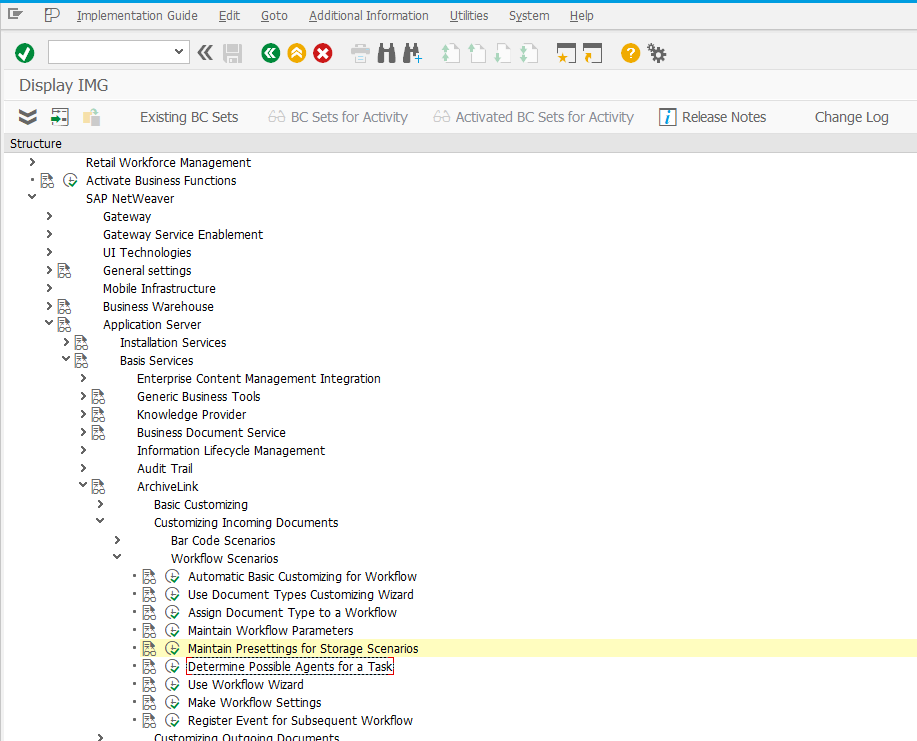
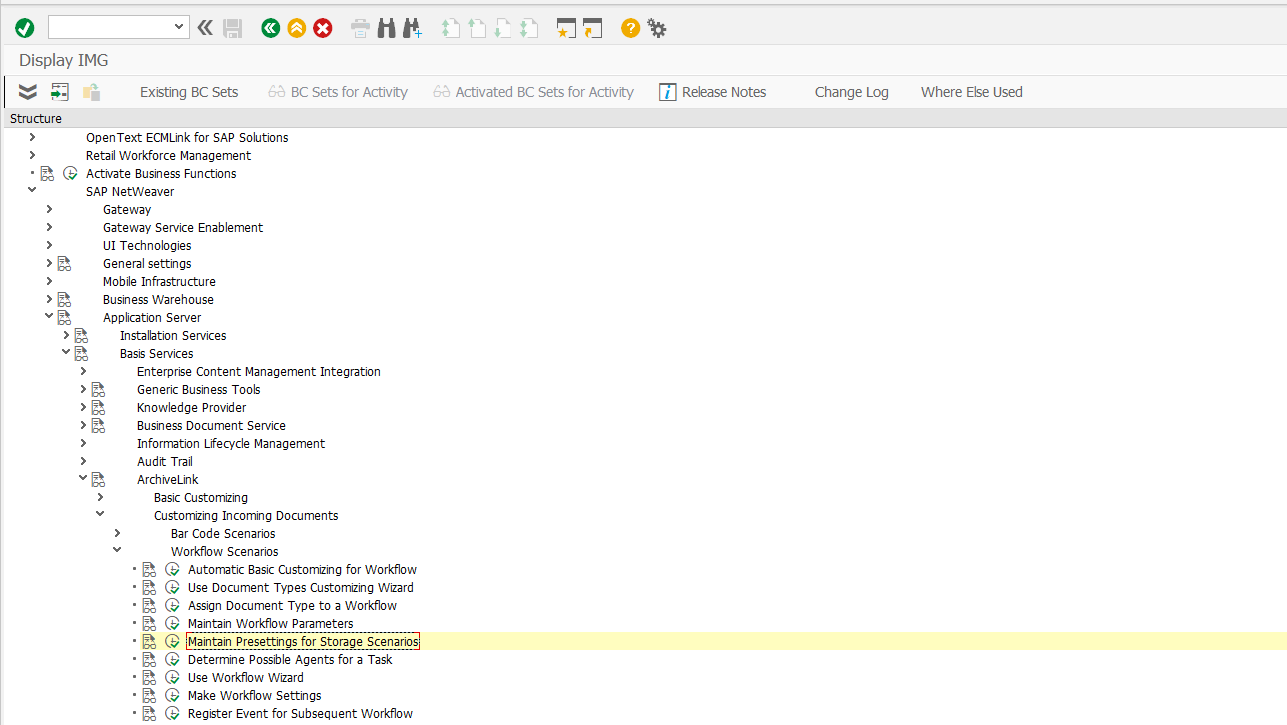
Workflow-related configuration in ArchiveLink can be found in SPRO under the following path: IMG: SAP NetWeaver → Application Server → Basis Services → ArchiveLink → Customizing Incoming Documents → Workflow Scenarios
Each IMG node includes fairly detailed help documentation.
Example
To demonstrate, I’ll go over the simplest case using the Storing for subsequent entry scenario for the standard document type HRIRESUME.
See: Within Personnel Administration (PA-PA)
Note: When configuring workflow for a custom document type, there will be a few more steps, which I will not cover here to save time (and due to the author's laziness).
Step 1: Maintain Presettings for Storage Scenarios
Execute the following in SPRO: IMG: SAP NetWeaver → Application Server → Basis Services → ArchiveLink → Customizing Incoming Documents → Workflow Scenarios → Maintain Presettings for Storage Scenarios
Here, I modify the settings for document type HRIRESUME, activate the Storing for subsequent entry scenario, and assign a personnel position as the document processor (this person will handle the document in the example).
Step 2: Assign Document Type to a Workflow
Check the following SPRO setting: IMG: SAP NetWeaver → Application Server → Basis Services → ArchiveLink → Customizing Incoming Documents → Workflow Scenarios → Assign Document Type to a Workflow
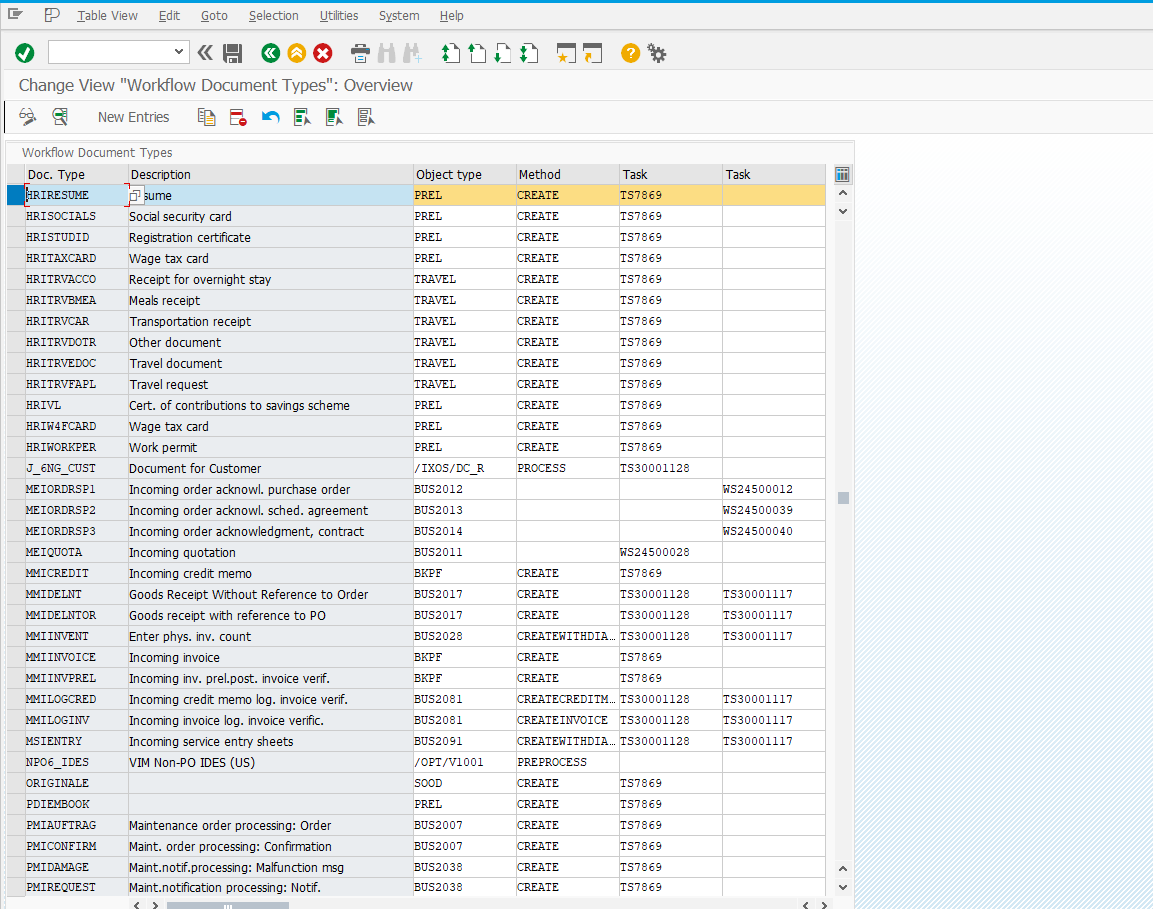
Ensure that the document type HRIRESUME is linked to the task matching the scenario I activated.
Step 3: Testing – Upload a New Document
To trigger the workflow, a document needs to be uploaded. For this, I use transaction OAWD.
Note: For the demo document type, the system displays the processor's position name. For other document types, based on current settings, the system shows the username used to log in.
As a result, the upload triggers the workflow task, as confirmed by an informational message.

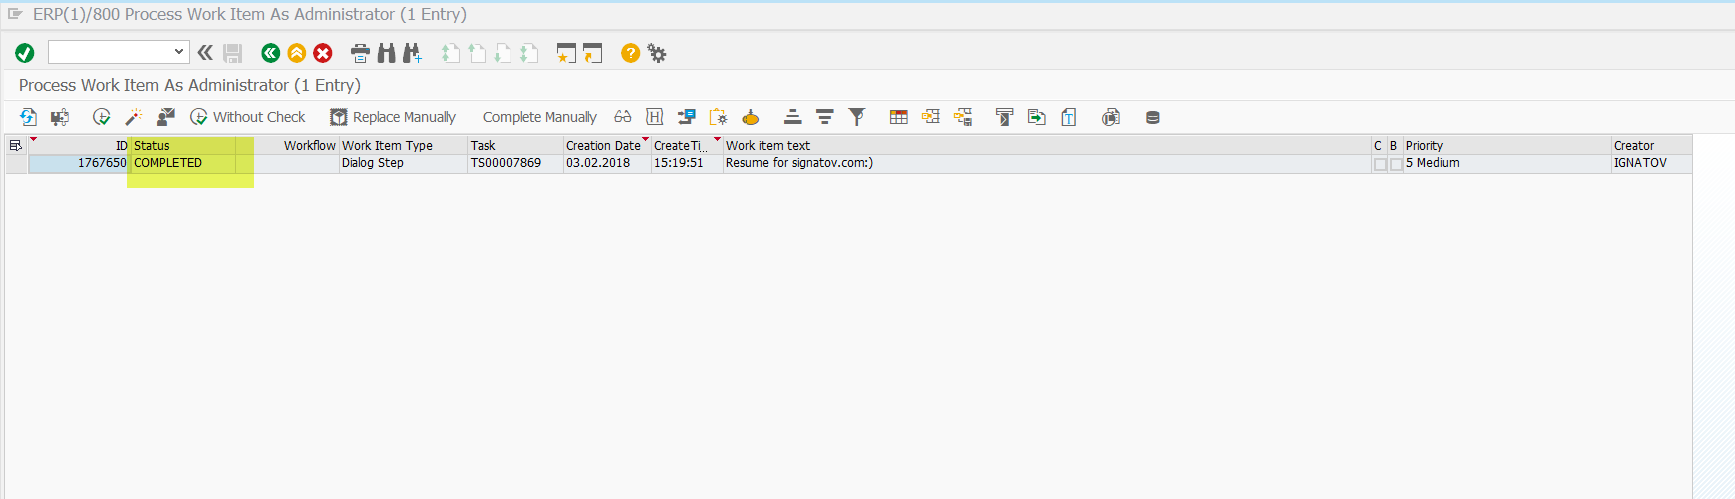
Step 4: Testing – View the Triggered Workflow
You can check the status and container of the task using transaction SWIA and the task ID.
Step 5: Testing – User Processes and Saves the Document
The user assigned as the document processor must go to transaction SBWP to complete the task.
See: Business Workplace Workflow Functions
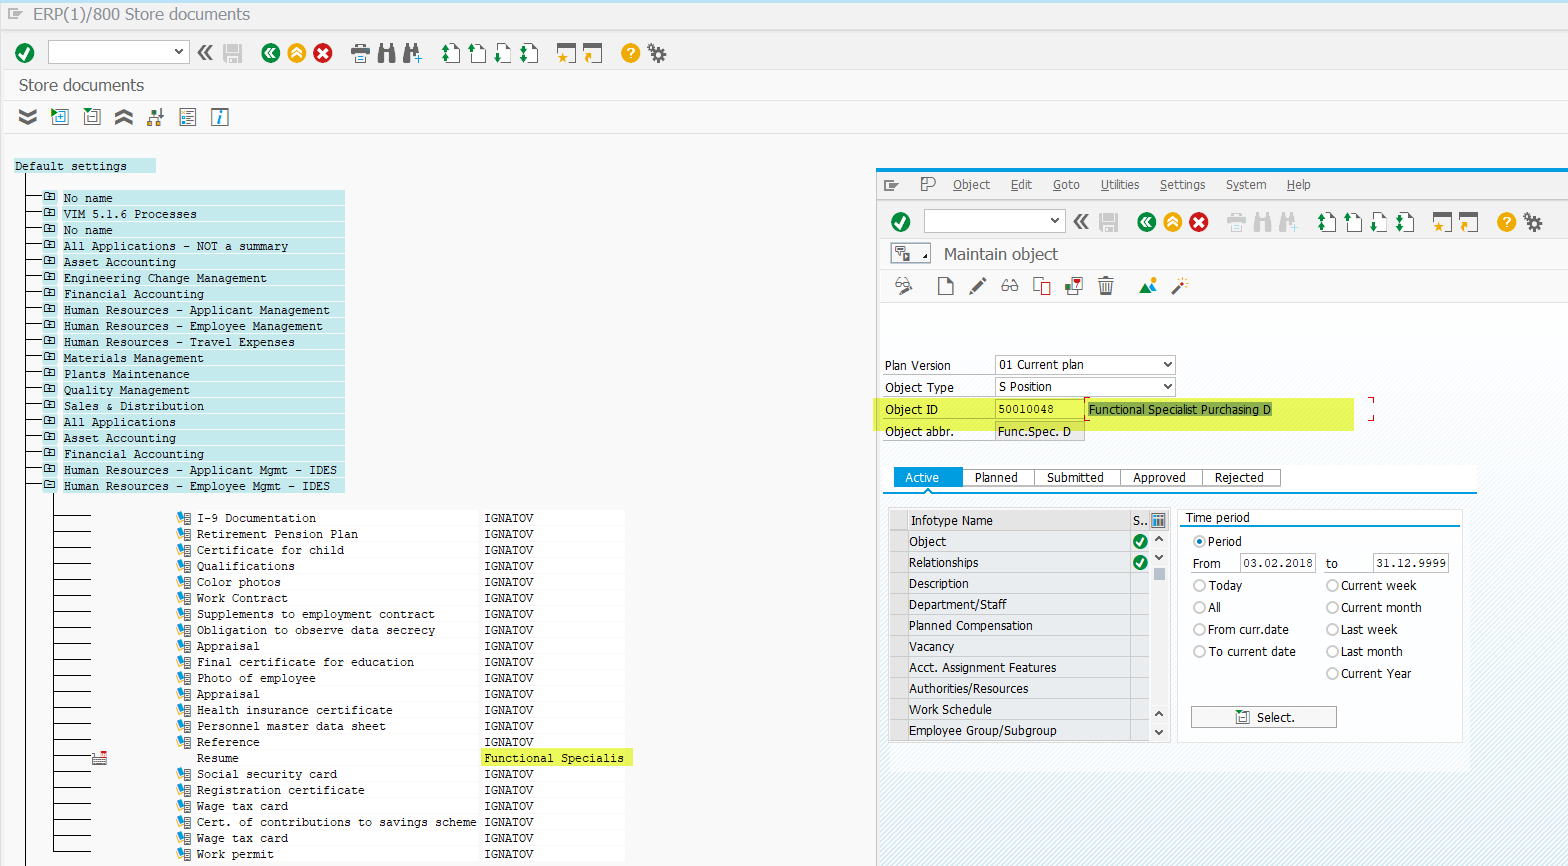
Step 6: Testing – View the Processed Document
After the task is completed, its status changes to COMPLETED.
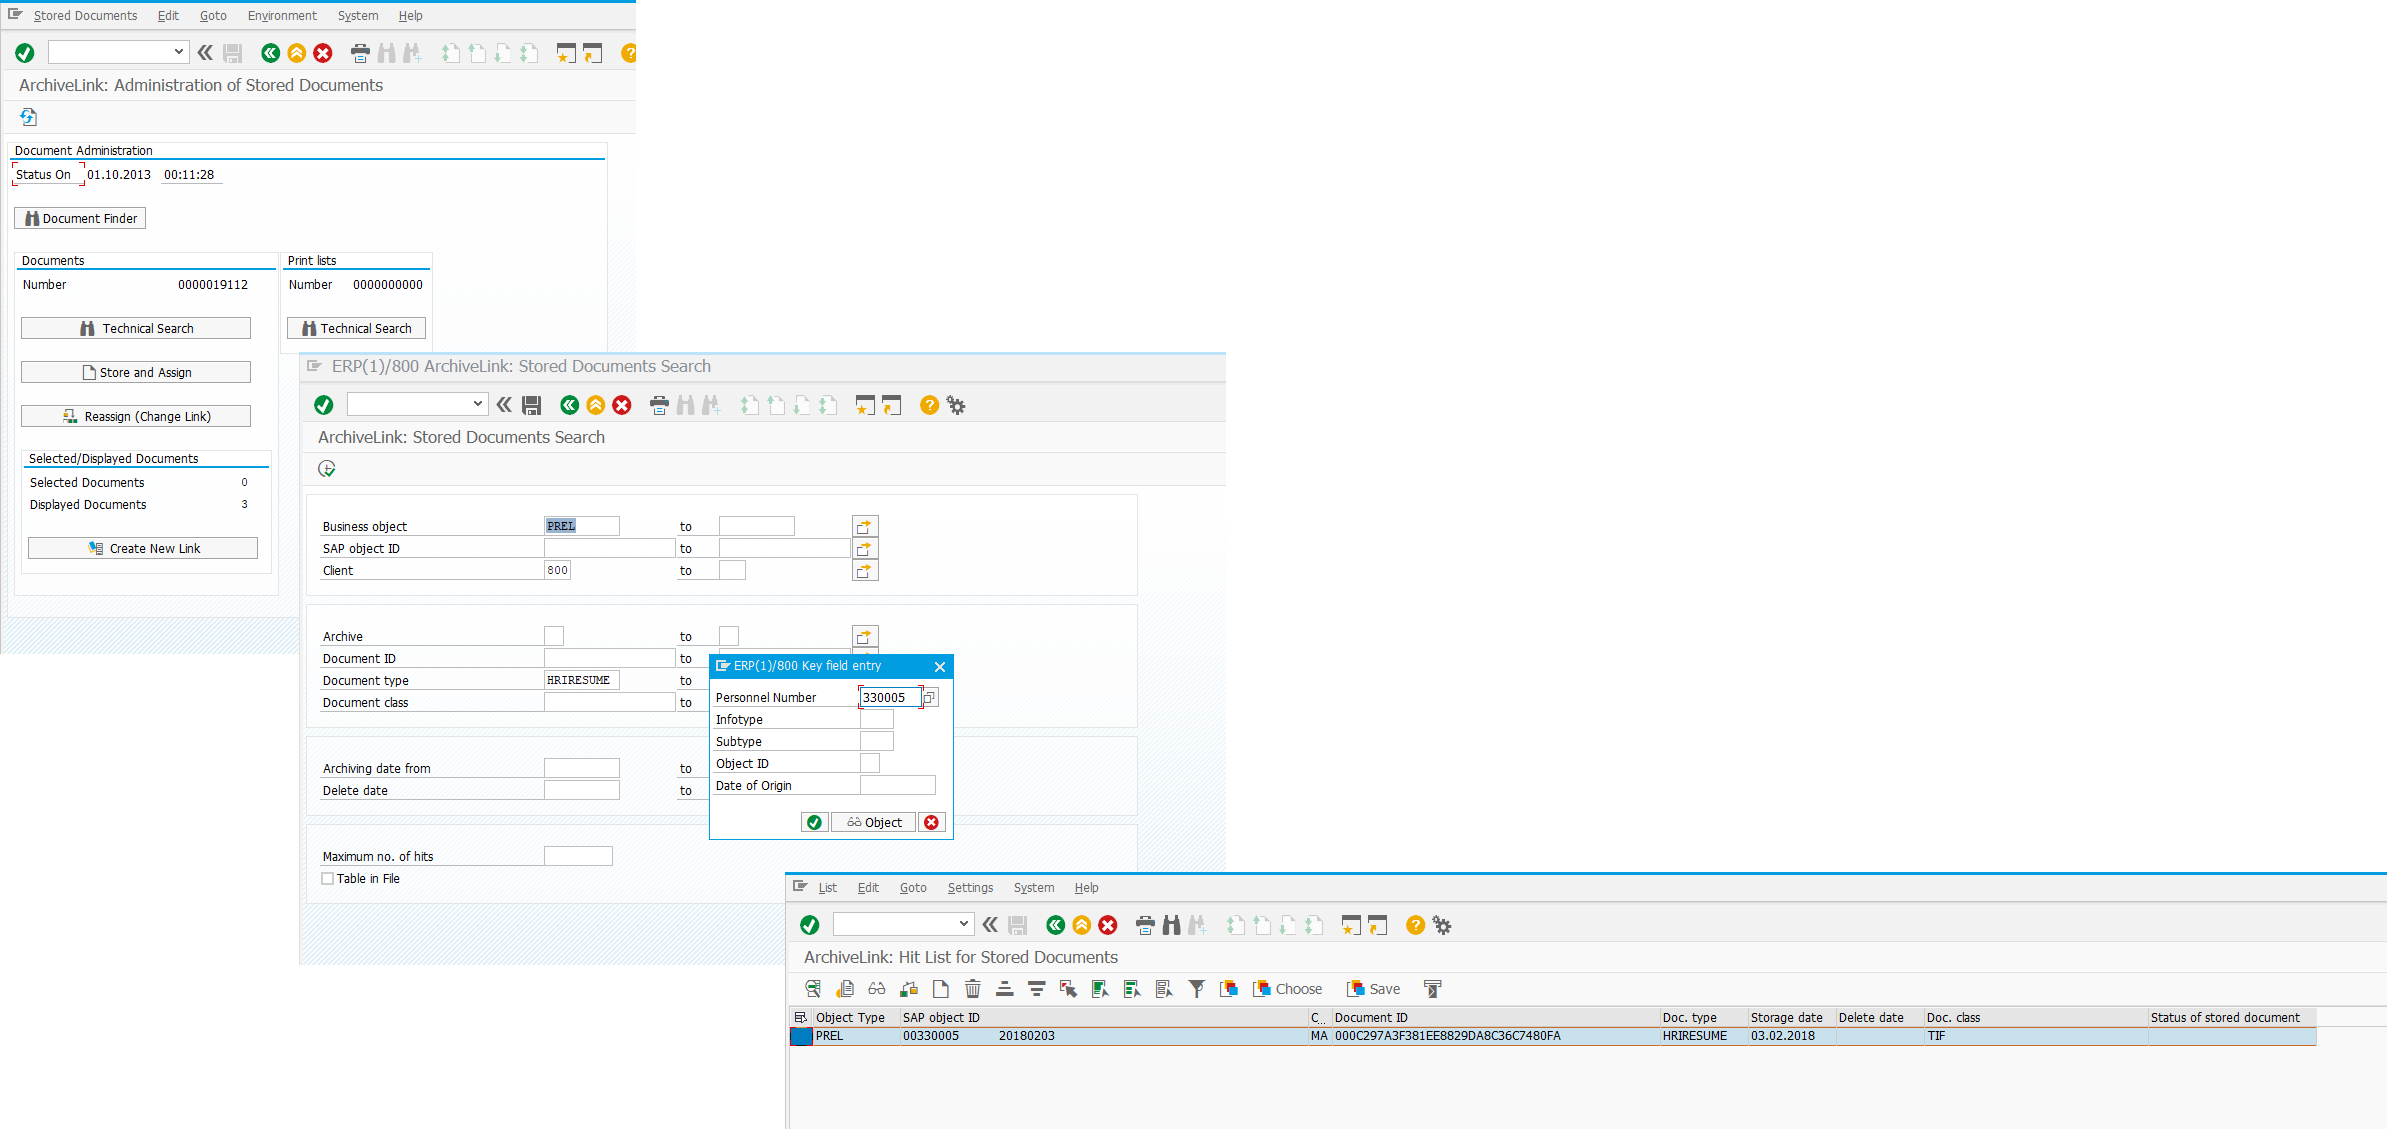
To verify that the document is successfully linked to the relevant object, use transaction OAAD.