Interface Toolbox for HR: Integrating SAP with External Systems
Interface Toolbox for HR: Integrating SAP with External Systems
SAP provides several tools for integrating with external, non-SAP systems. These include:
- Business Application Programming Interface (BAPI)
- Application Link Enable (ALE)
- Interface Toolbox for HR
The vendor's documentation offers a fairly detailed comparative analysis of the possible use cases for each of these tools.
See: Technology for Interface Scenarios
In this article, I suggest exploring the Interface Toolbox for HR as a means of exporting HR master data to an external system.
Interface Toolbox for HR can be used in several scenarios:
- Example 1: Export Master Data to an External System
- Example 2: Export Master Data and Payroll Results to External System
- Example 3: Gross Payroll in SAP System, Net Payroll in External System
I will briefly cover the first scenario. I should note that there's a lot of material on this topic, and—as always—very little time. So, the following is a short demonstration of what this tool can do in the context of the first scenario.
Objective
Create an interface for exporting the following master data from SAP to an external system.
Infotype 0001 – “Organizational Assignment”:
Fields:
- PERNR – Personnel Number
- BUKRS – Company Code
- WERKS – Personnel Area
- PERSG – Employee Group
- PERSK – Employee Subgroup
- BTRTL – Personnel Subarea
- KOSTL – Cost Center
- ORGEH – Organizational Unit
- PLANS – Position
Infotype 0002 – “Personnel Data”:
Fields:
- NACHN – Last Name
- VORNA – First Name
- FAMST – Marital Status Key
Output file format: plain text (TXT).
Interface Format
Let’s begin by defining the interface format. Launch transaction PU12—this is the entry point for working with the Interface Toolbox.
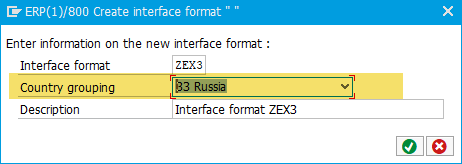
Enter a name for the new interface and click Create.

On the next screen, define the country grouping for the interface being created.
Check the Master data checkbox.
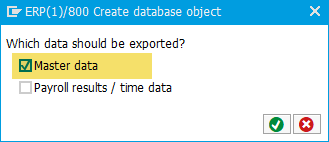
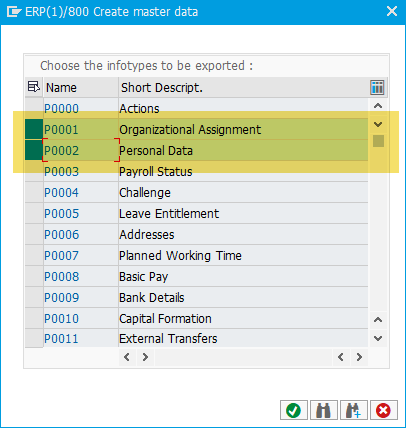
Select the infotypes you want to export. In this case:
- 0001 – "Organizational Assignment"
- 0002 – "Personal Data"
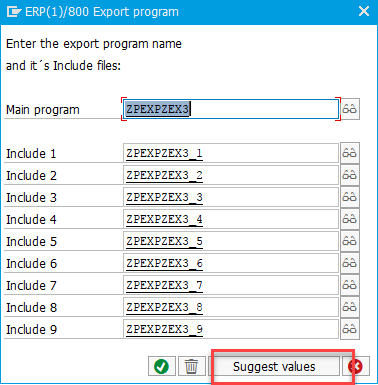
On the next screen, click Suggest Values so the system automatically assigns program names.
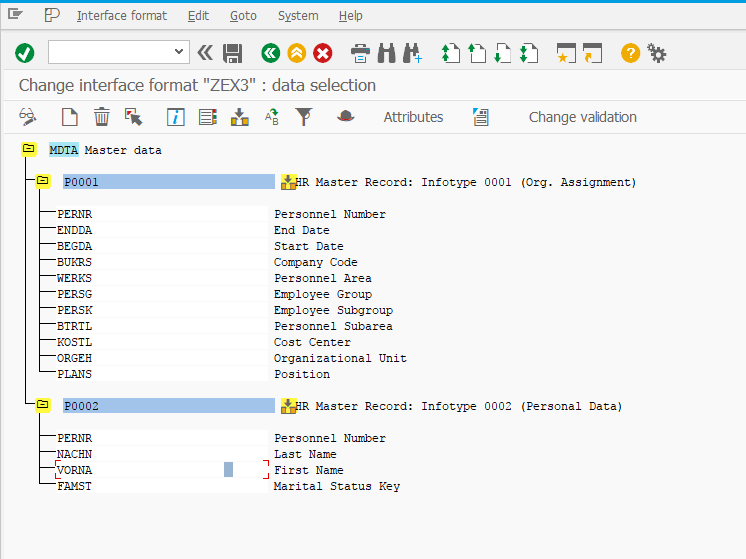
Select the fields to be included in the export, and remove any unused fields. To delete fields, either double-click or press F9.

Repeat the above steps for all infotypes included in your interface. The result should look something like this:
Specify which records should be selected for export by clicking the Table Entries button.
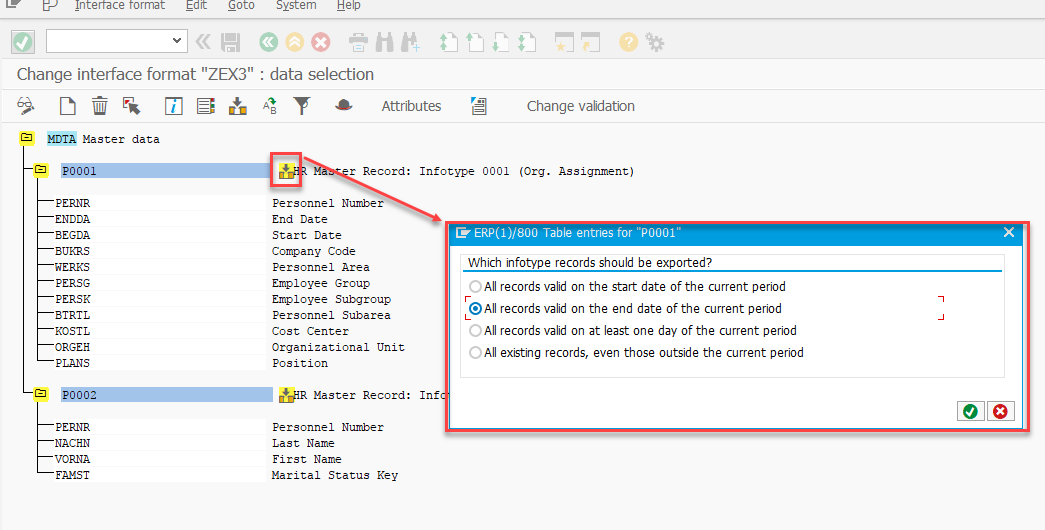
See: Selecting Table Entries
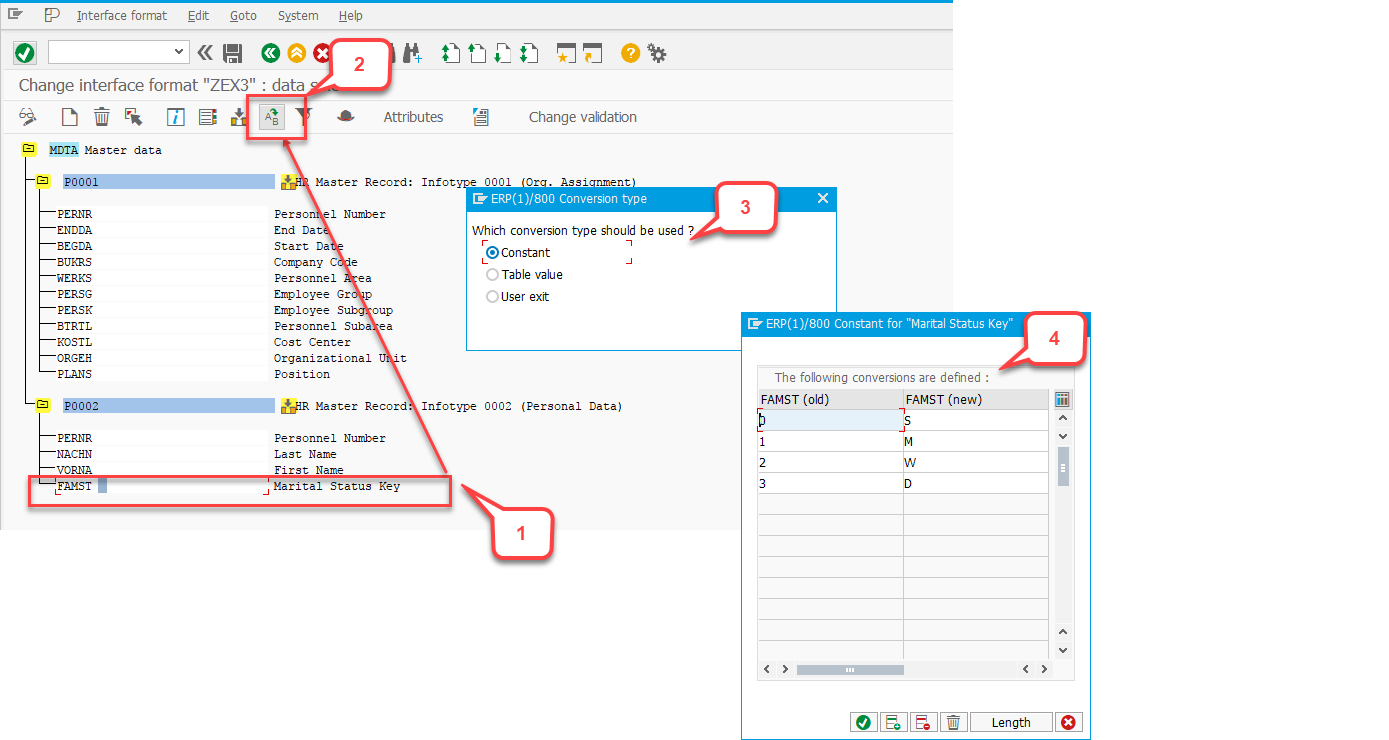
For each exported field, you can apply a conversion rule.
See: Conversion for Field Objects
For example, I applied a conversion rule to the FAMST field.
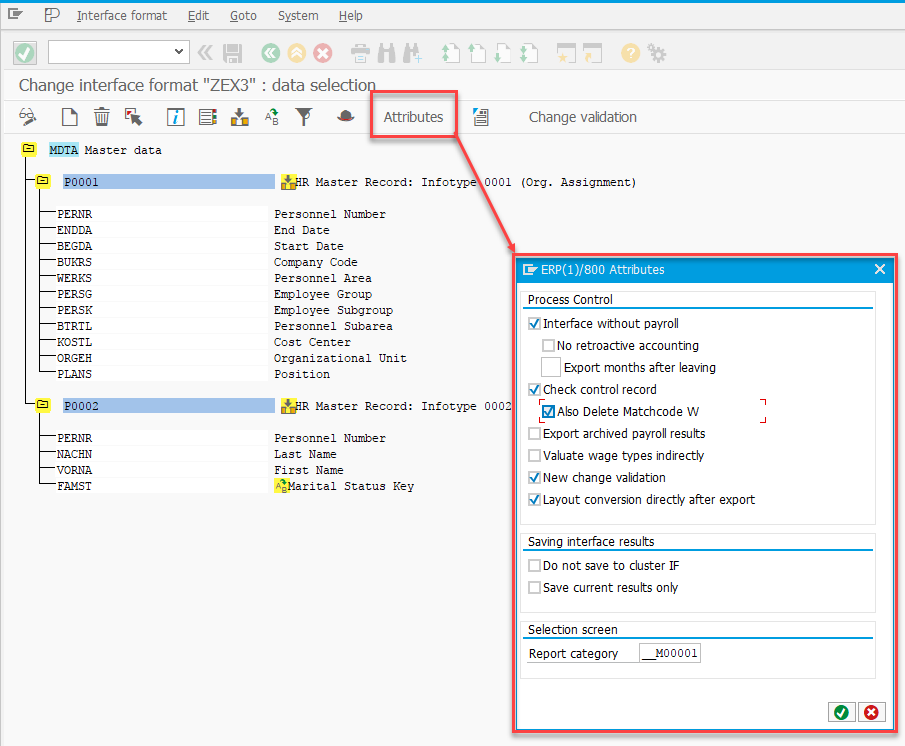
Activate the necessary attributes for your scenario by clicking the Attributes button.
See: Attributes in the Interface Format
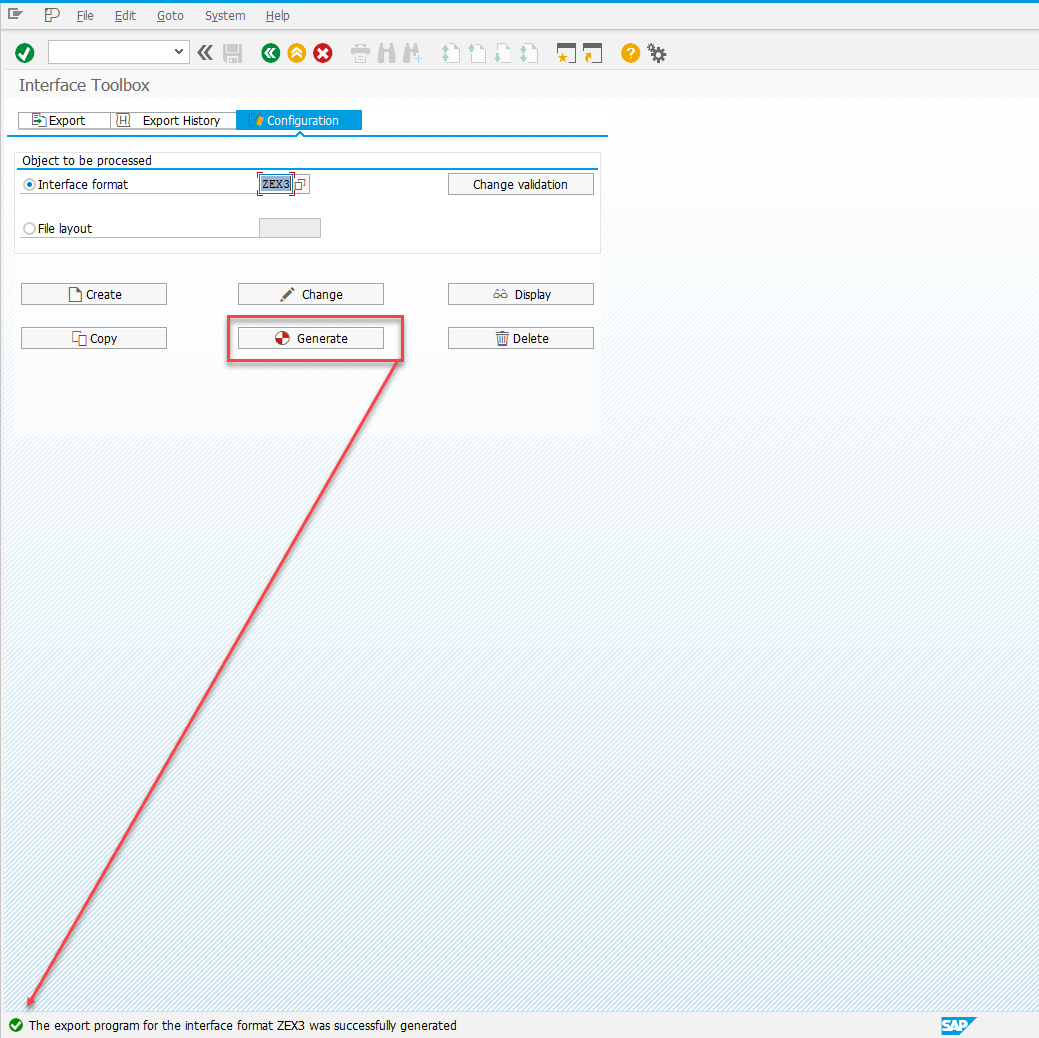
Now you can generate the interface by returning to the PU12 screen and clicking the Generate button.
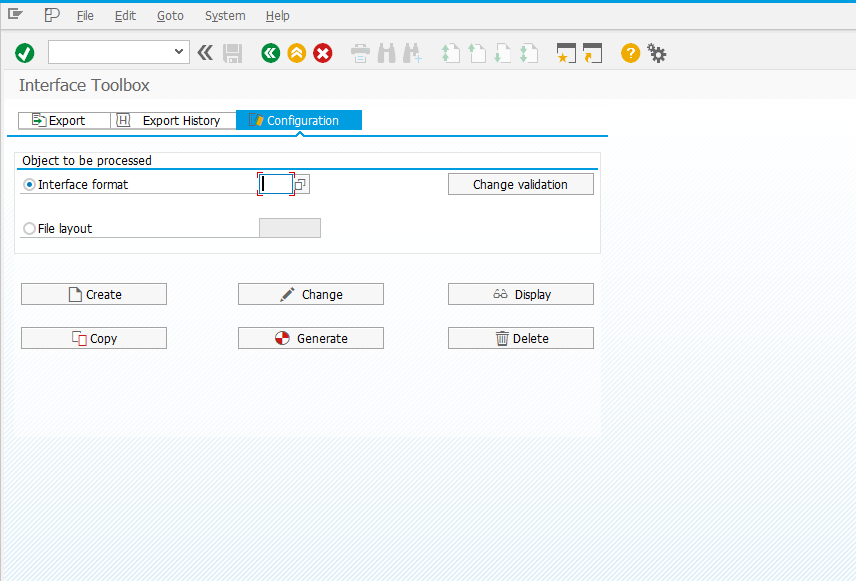
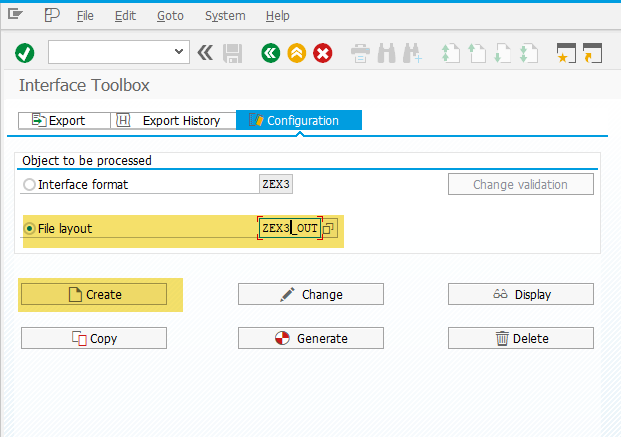
File Layout
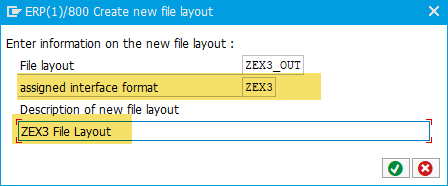
Now, define the structure of the output file. In the selection screen of PU12, activate the File Layout option, provide a name, and click Create.
Select the interface for which you’re creating the file format and provide a description.
See: File Layout
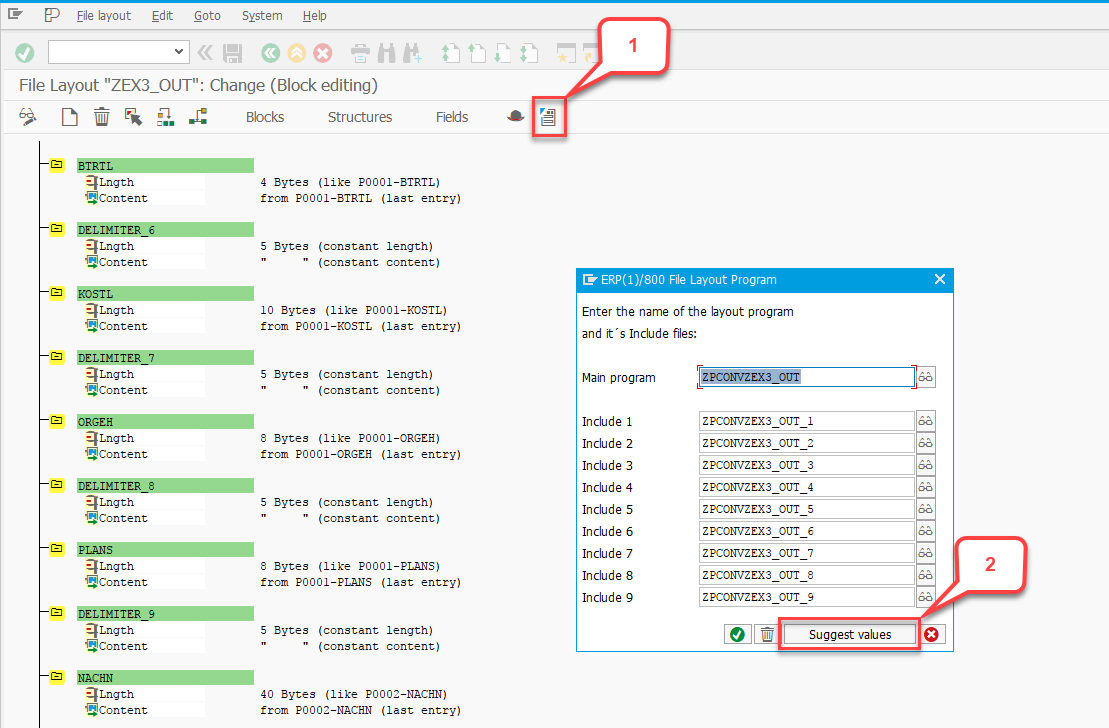
Specify which fields will be exported to the text file for transfer to external systems. Below is a video snippet demonstrating the creation of the file structure. In the video, I refer to a text editor to remember which fields to include. Apologies in advance for the repetitive nature of the steps shown.
Notably, after each field I added the constant _DELIMITER_n, which contains five spaces. This constant acts as the delimiter between exported field values.
Click the File Layout Program button and generate program names by pressing Suggest Values.
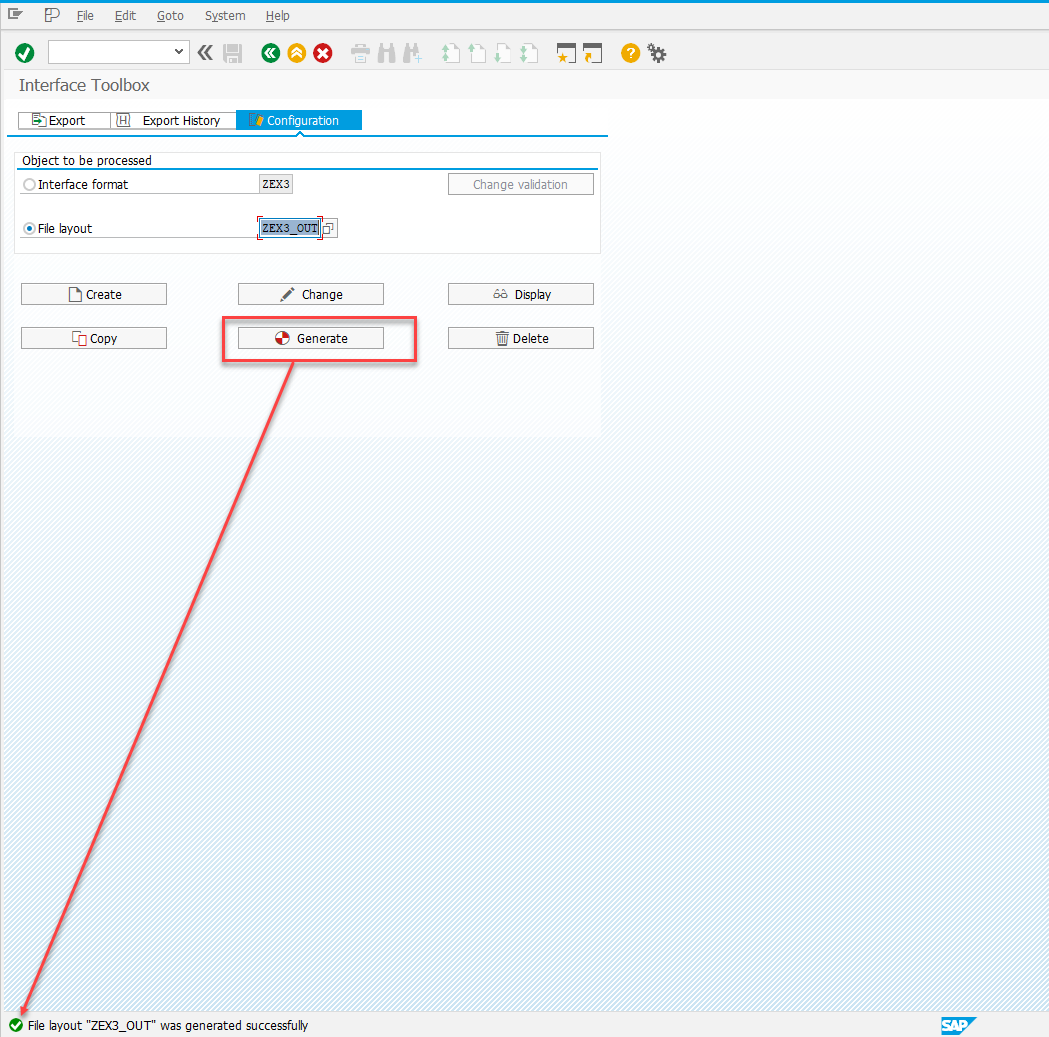
Generate the file format by returning to the PU12 main screen and clicking the Generate button.
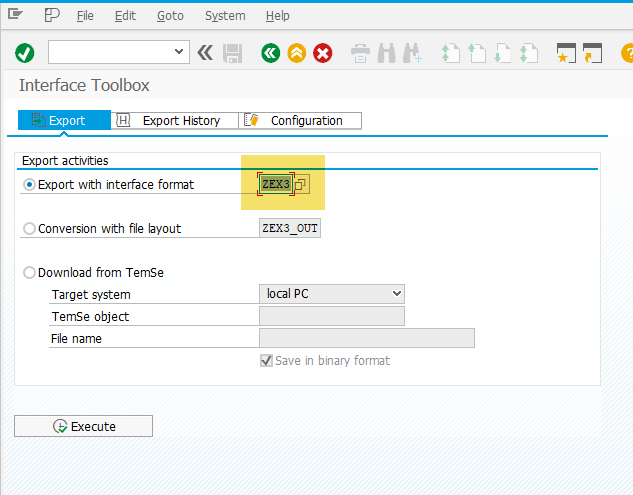
Export
Now you can try exporting data in the required format. To do this, go to the Export tab in transaction PU12 and select the interface you created.
See: Starting the Export Program
Below is a video snippet demonstrating the export process using the configured interface and file format.
The log contains a fair amount of information. Pay special attention to the File layout conversion (output) section.

All the required information was collected exactly as configured earlier.
See: Infotype: Export Status (0415)
Export the file and review its contents.
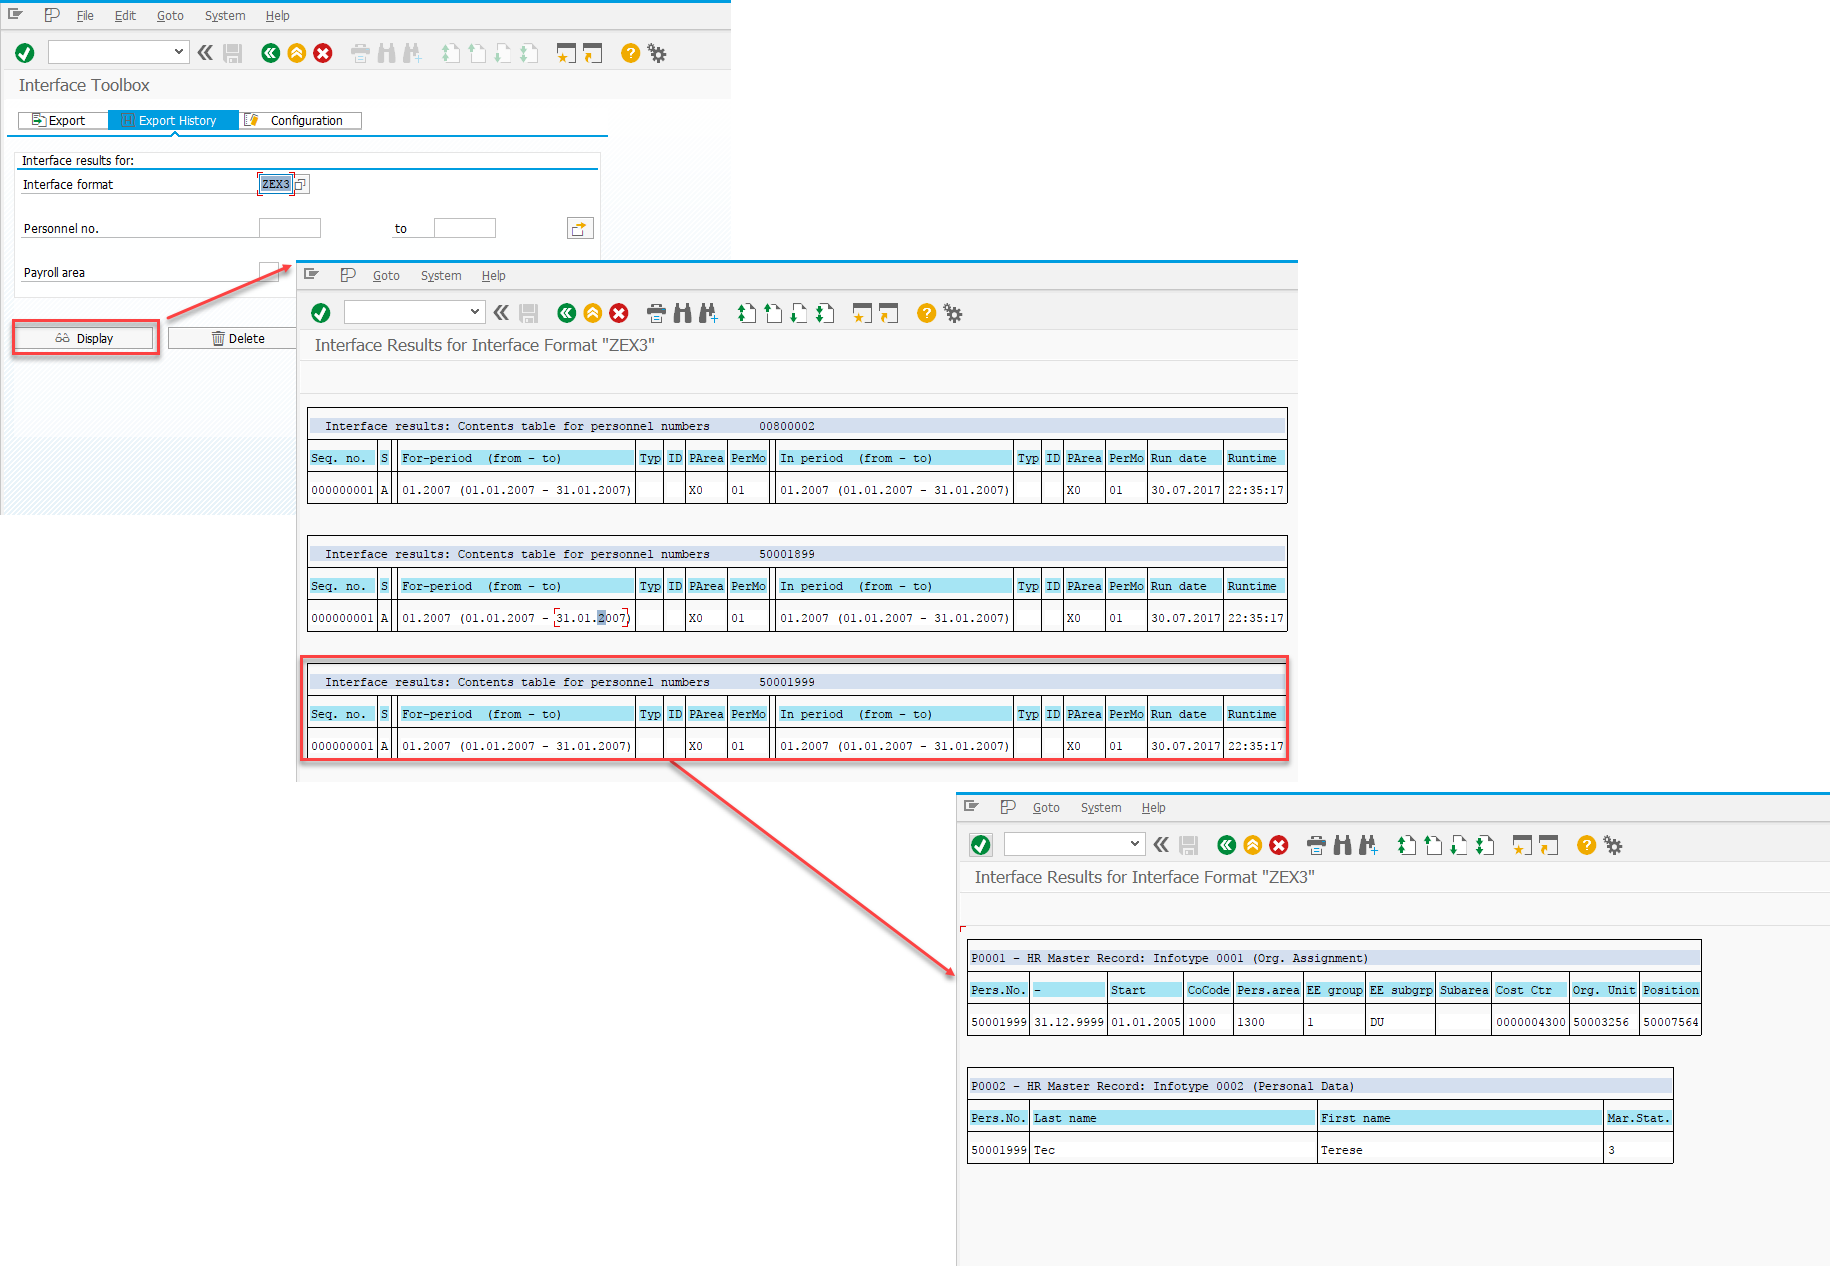
See: Export History for Interface Results
You can view the history of completed exports on the Export History tab in PU12.